I wanted to push the limits of the Othermill by making custom handlebar plugs for my commuter bike. I set out to make the style of plug with fingers that are forced open by a nut, gripping the inside of the handlebar.
Typically, a CNC lathe with live tooling is ideal for making a part like this, but I was excited to try using a complex fixture to hold the part during multiple milling operations. I couldn’t think of a great way to make this in only two milling operations without taking the outer diameter of the stock down myself on the lathe, so it required three fixturing areas - one for each Op.
Op 1
To make one of two clamping areas in the fixture plate, I first milled out the clamping member and clamping area. Next, I drilled two holes in both the clamping member and fixture plate with the drill press. The holes in the plate were drilled smaller so I could press in two threaded inserts (McMaster PN 92398A121). With two M3 bolts, I was able to clamp the stock in place.
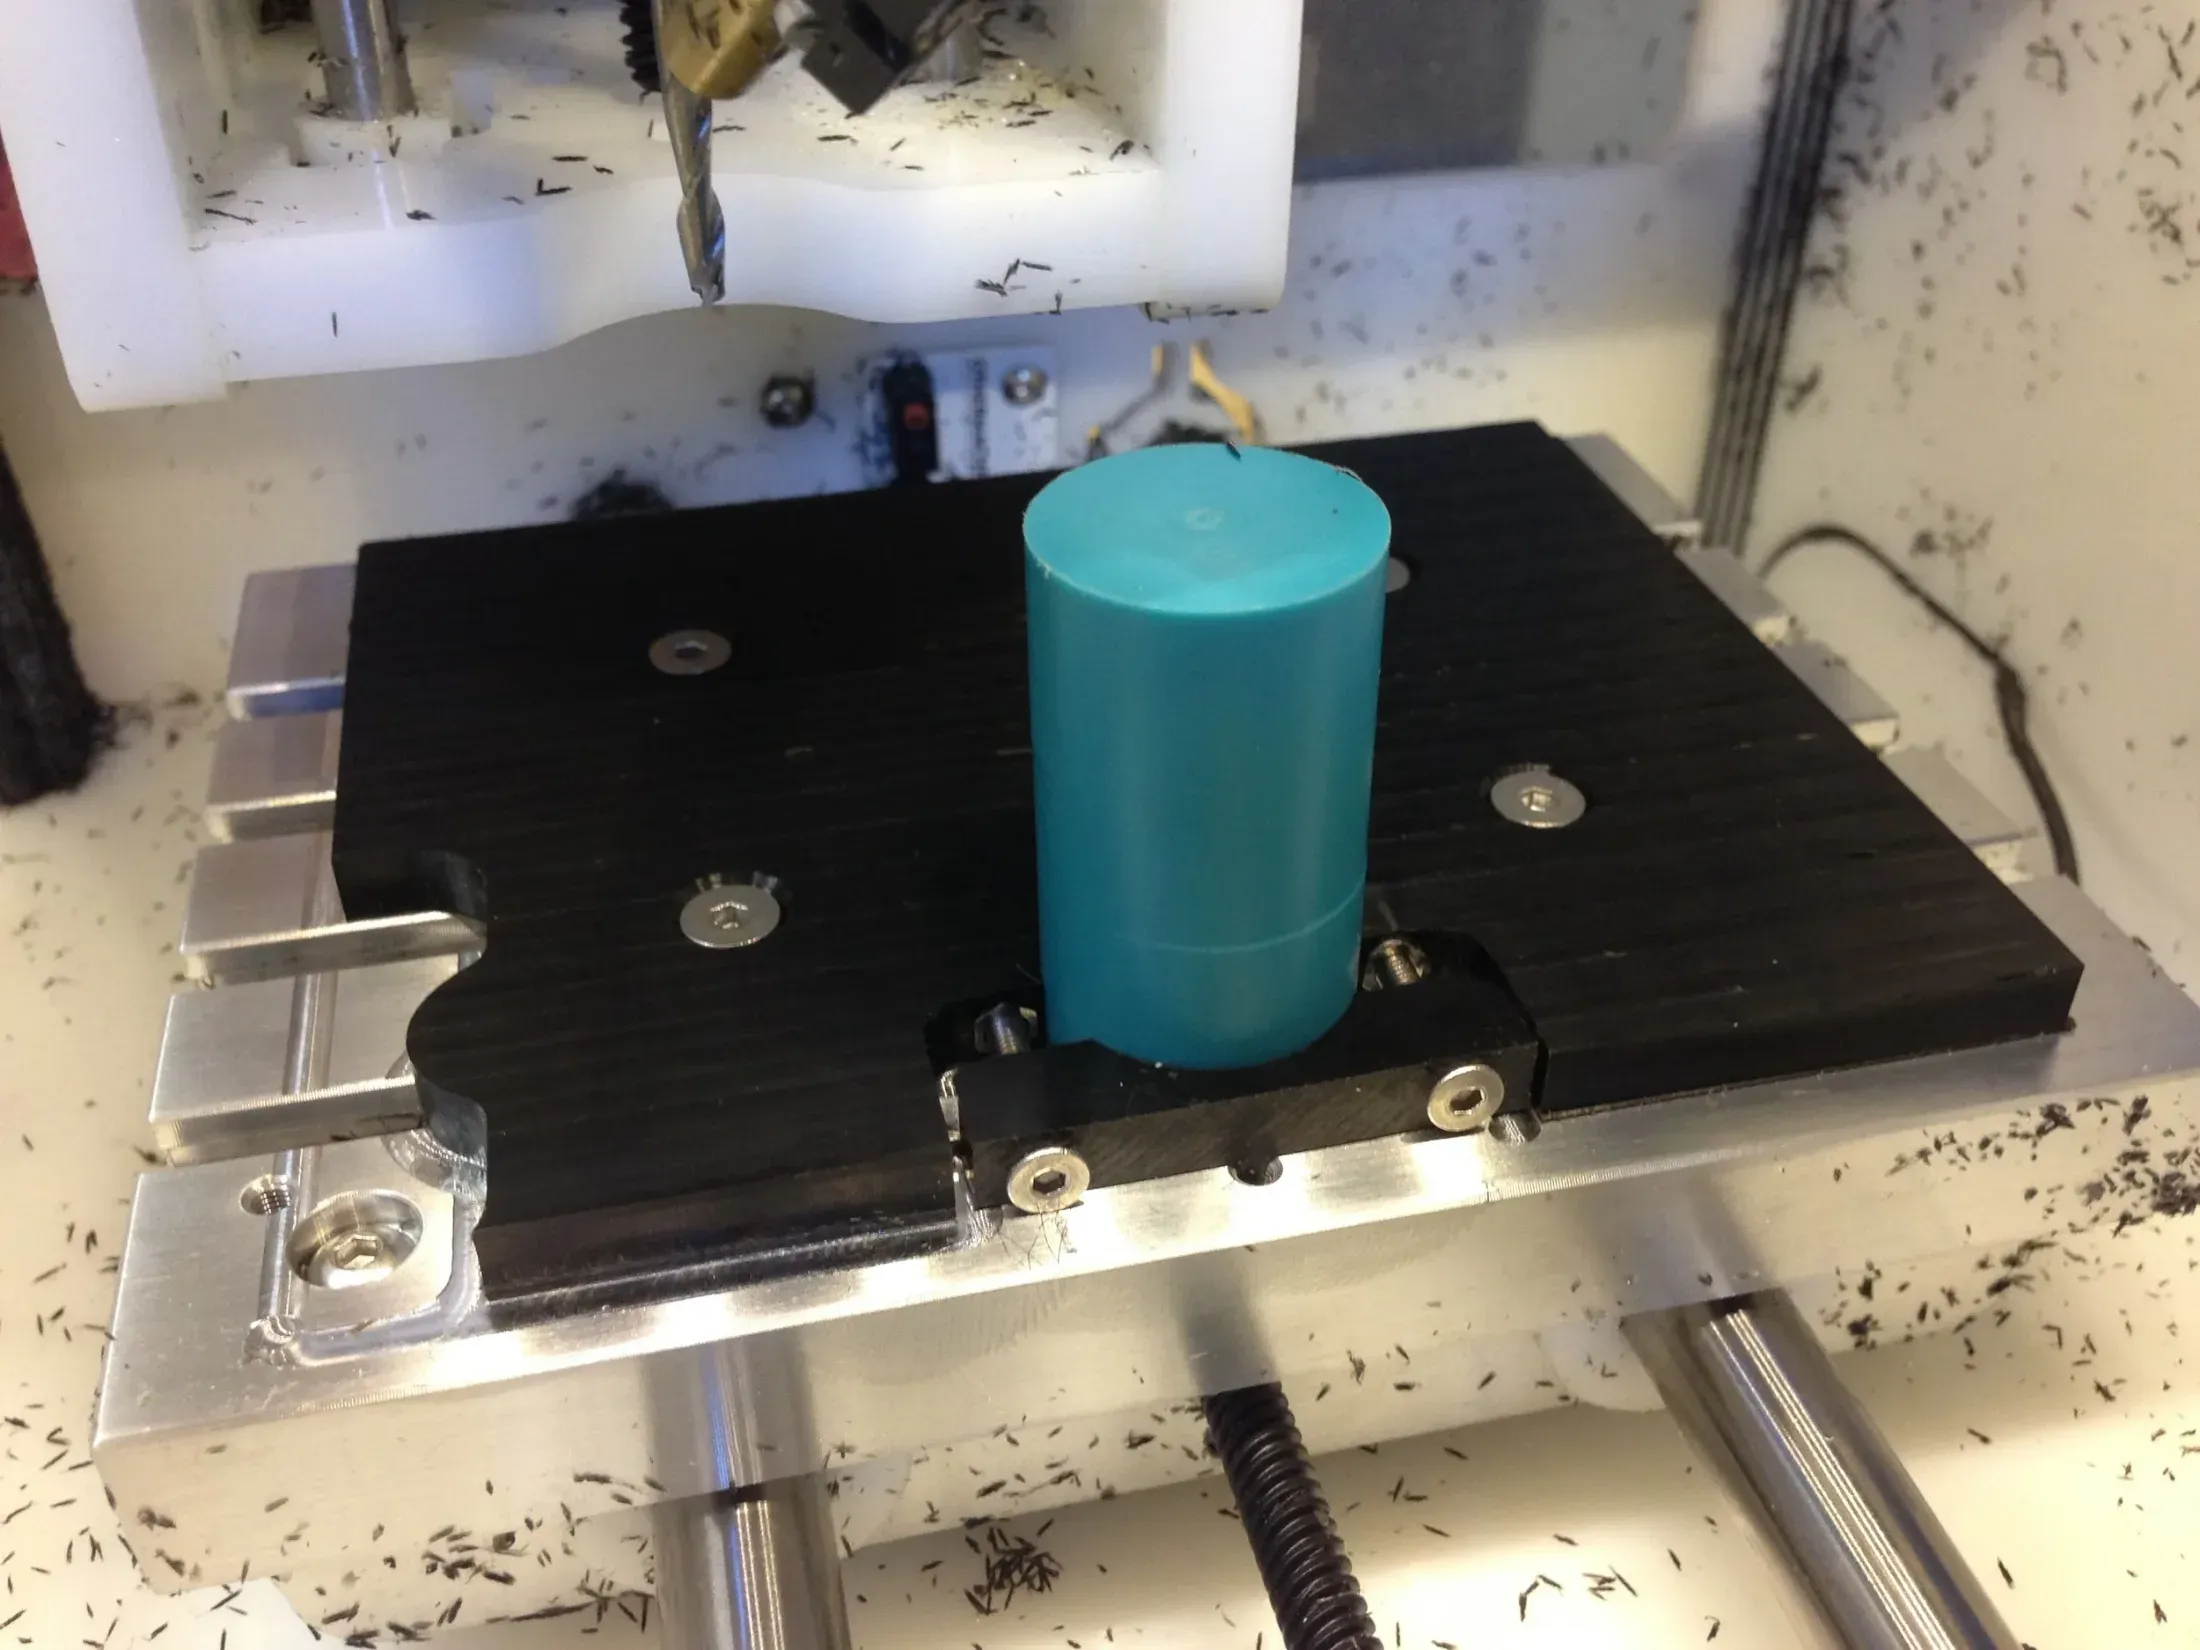
The original stock in place. I did cut it off on the lathe and do a face cut on the bottom side before milling, so it sat flat on the Othermill’s t-slot bed. Both the fixturing plate and stock are Delrin.
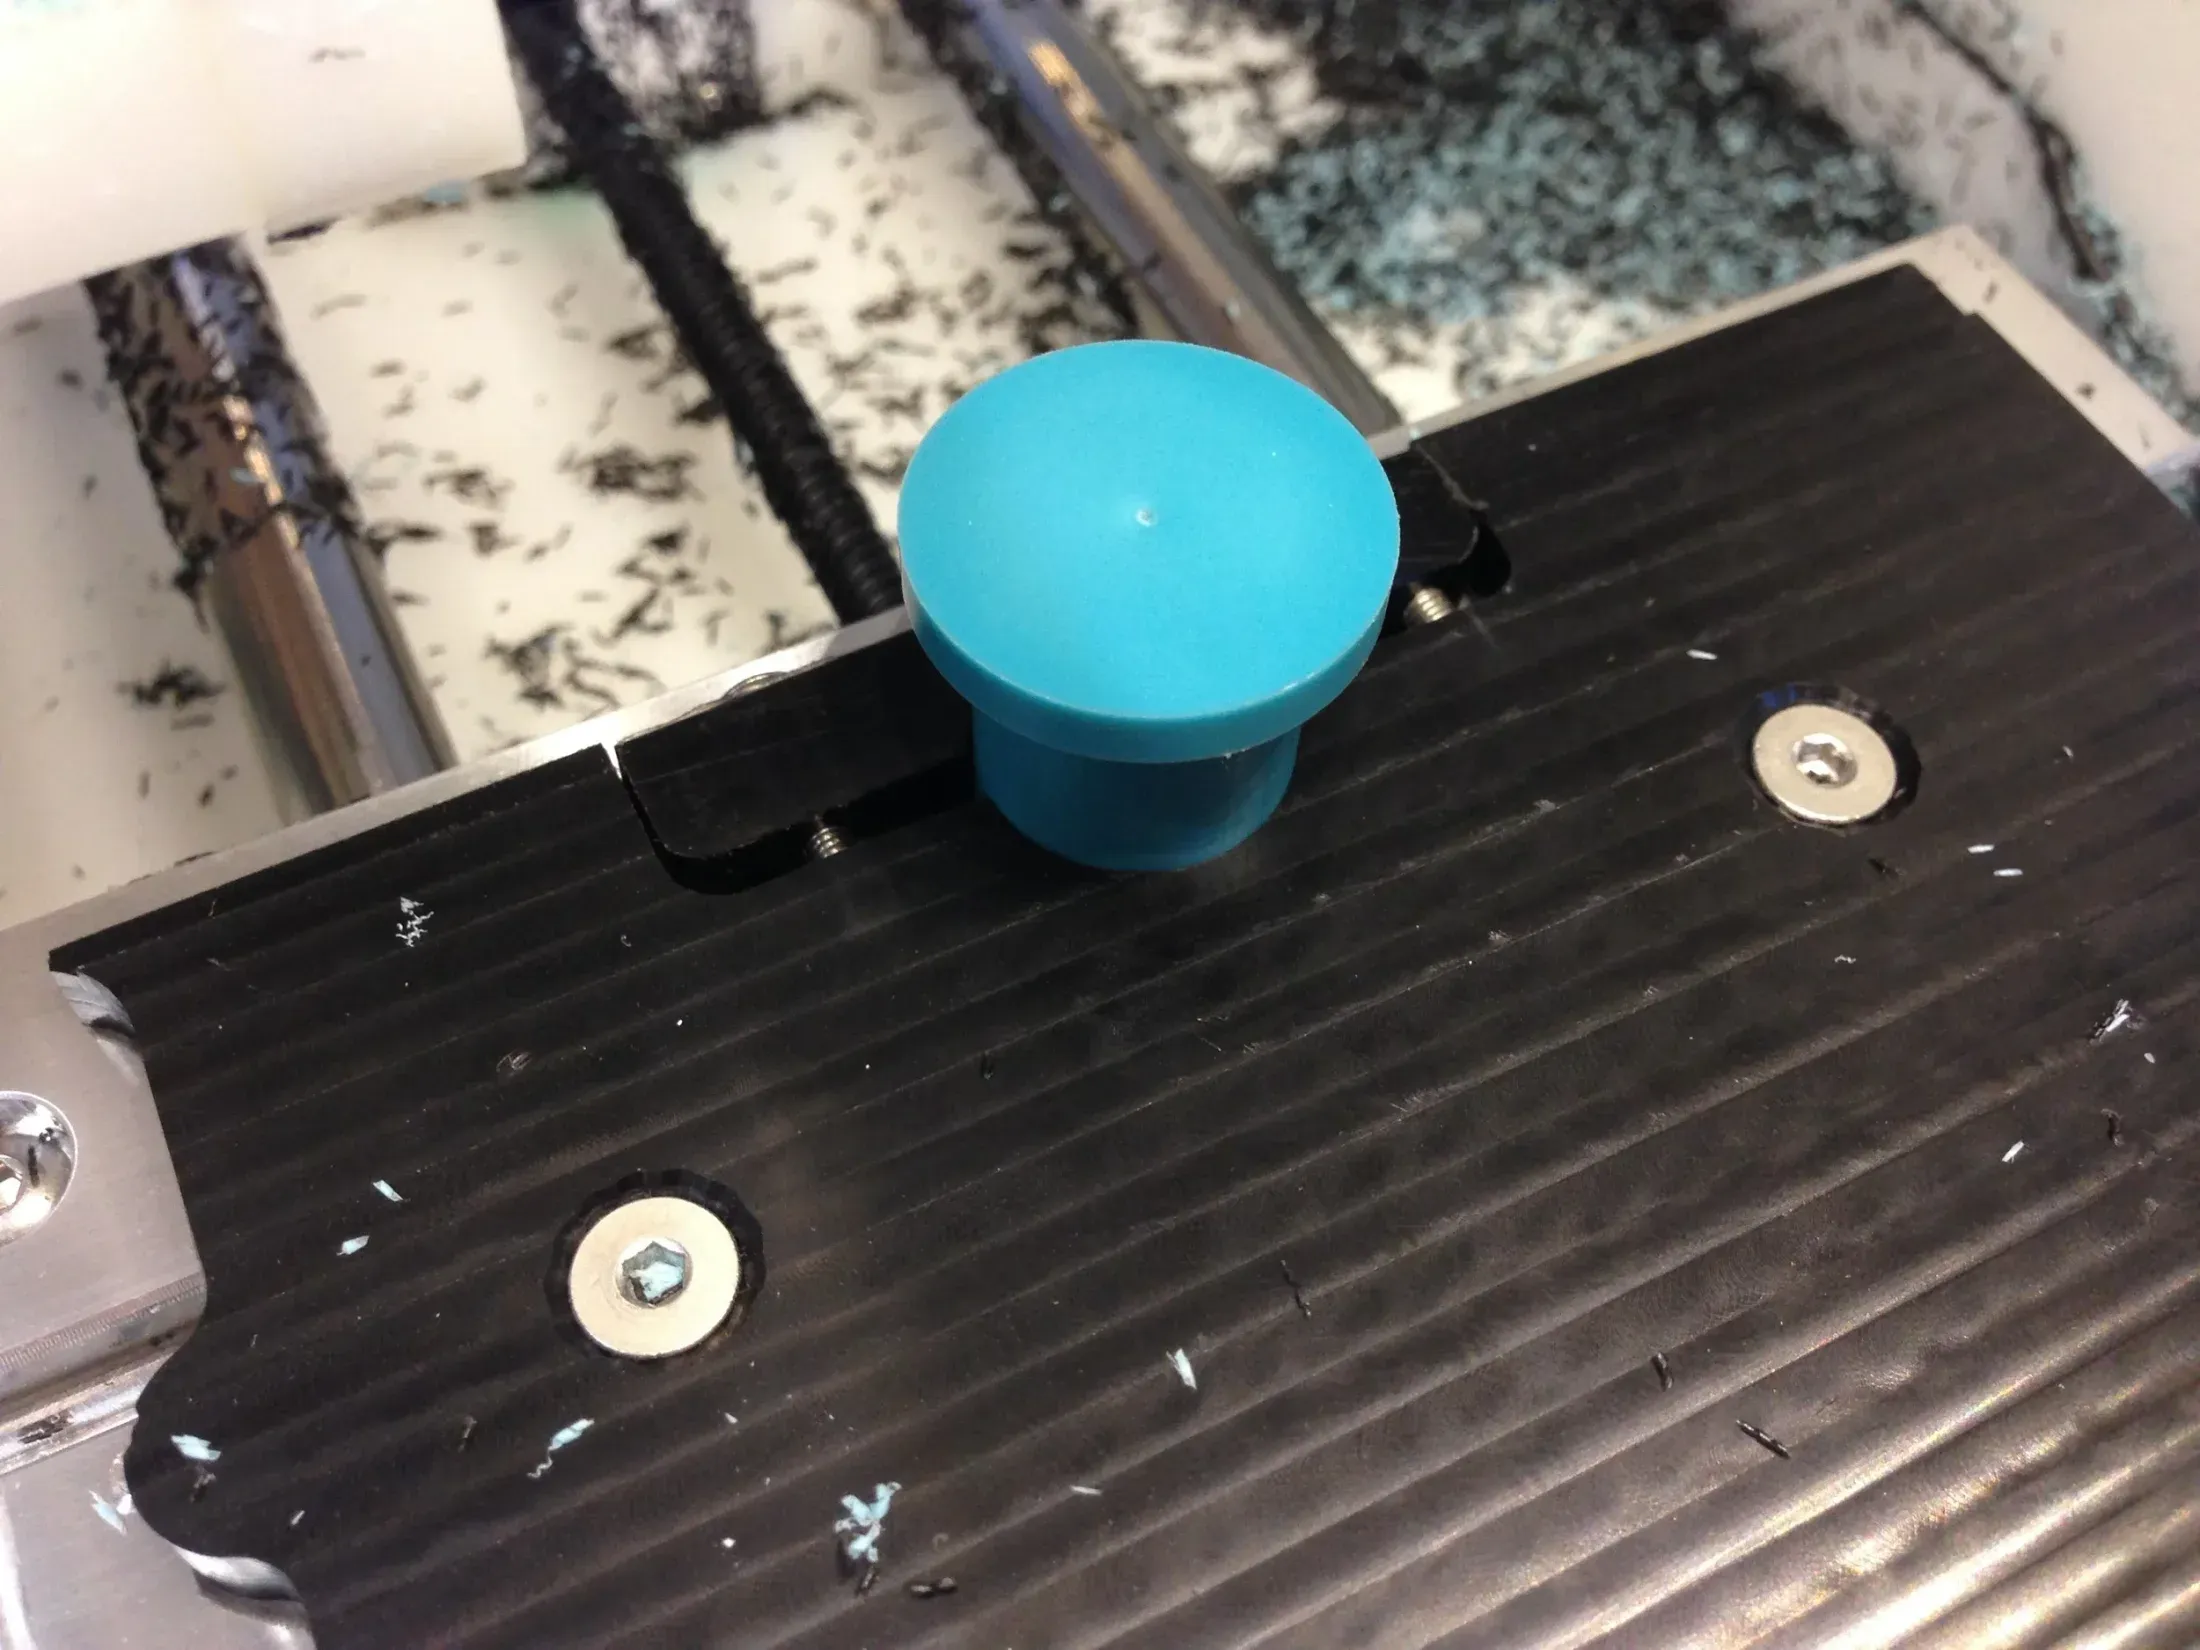
The first machining operation was a ramp toolpath that brought the OD of the stock down to slightly smaller than the ID of the handlebar, so it could fit inside.
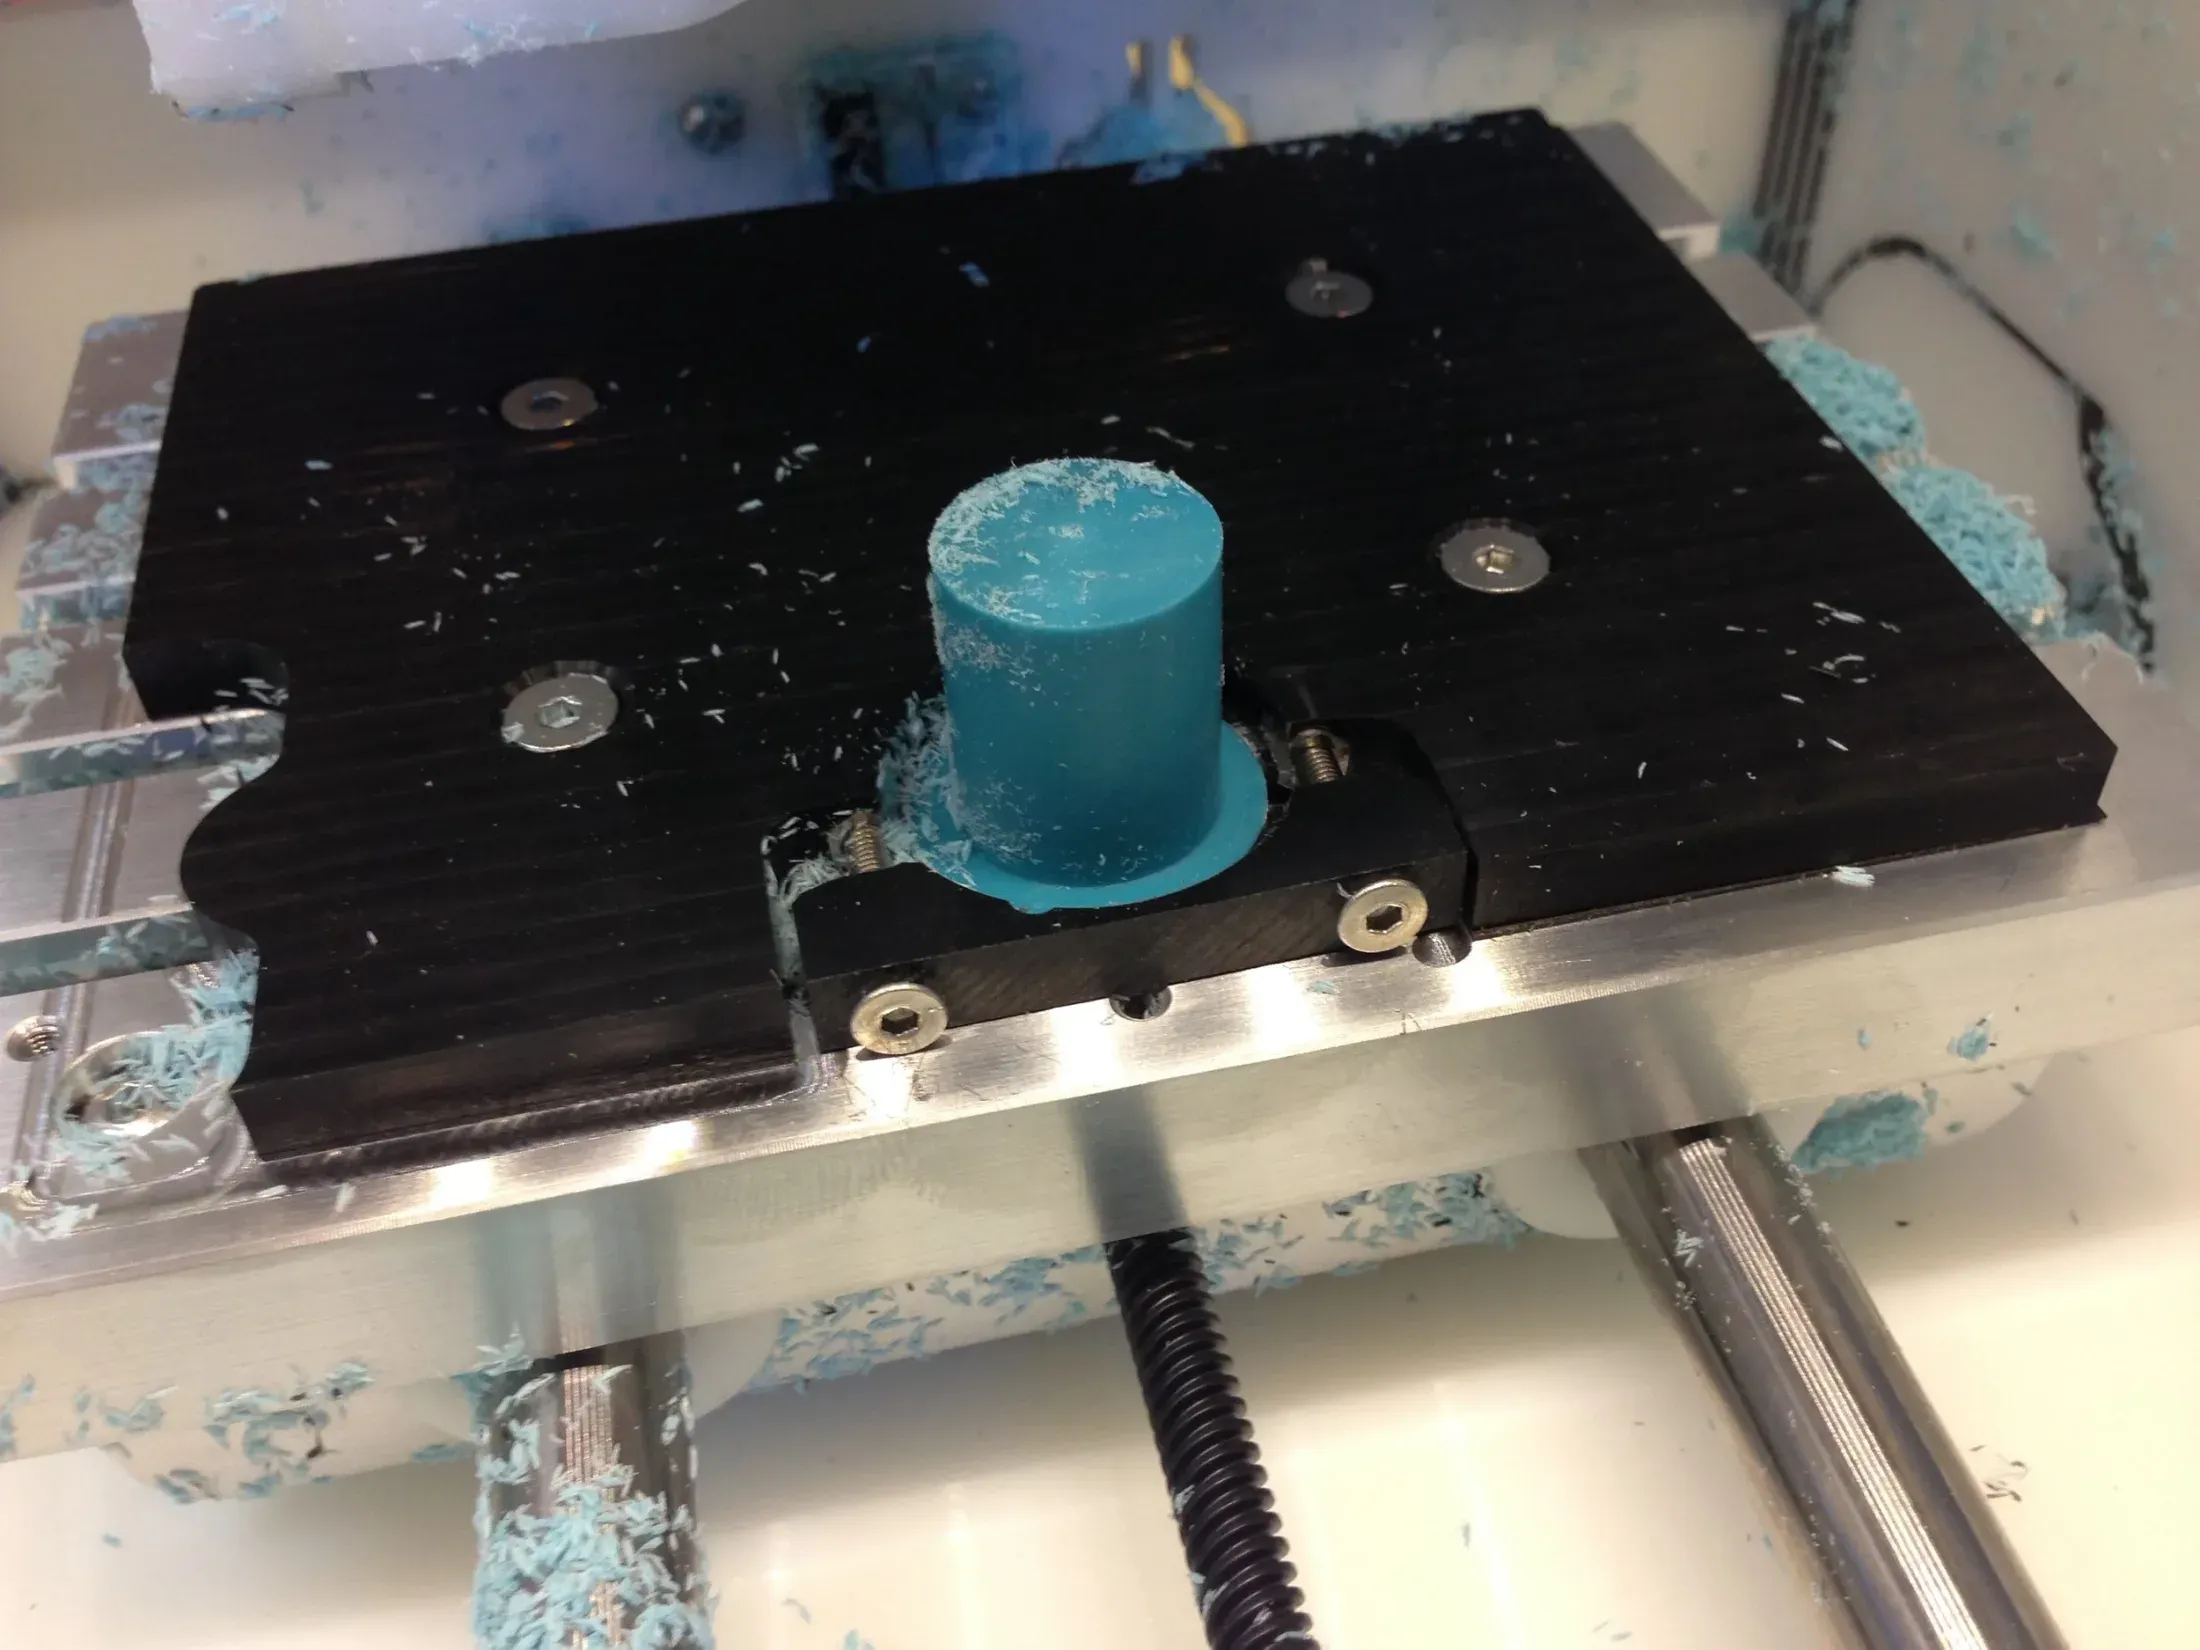 After the first machining operation.
Op 2
The clamping area for Op 2 was created in the same way I did the Op 1 side, only smaller.
 Ready for milling.
The first toolpath in Op 2 is a counterbore:
(I’m using my Air Coolant setup for chip clearing in these two videos)
Next up is a “scallop” toolpath to cut in the main 3d surface. I’ve swapped over to a 1/8” ball endmill to get a nice surface finish here.
Op 3
The fixture in Op 3 is the most complex, requiring a 3d mating surface in the fixturing plate and an aluminum cap to hold the workpiece down. First, I milled the cap, which will hold the workpiece down via four M3 thumbscrews.

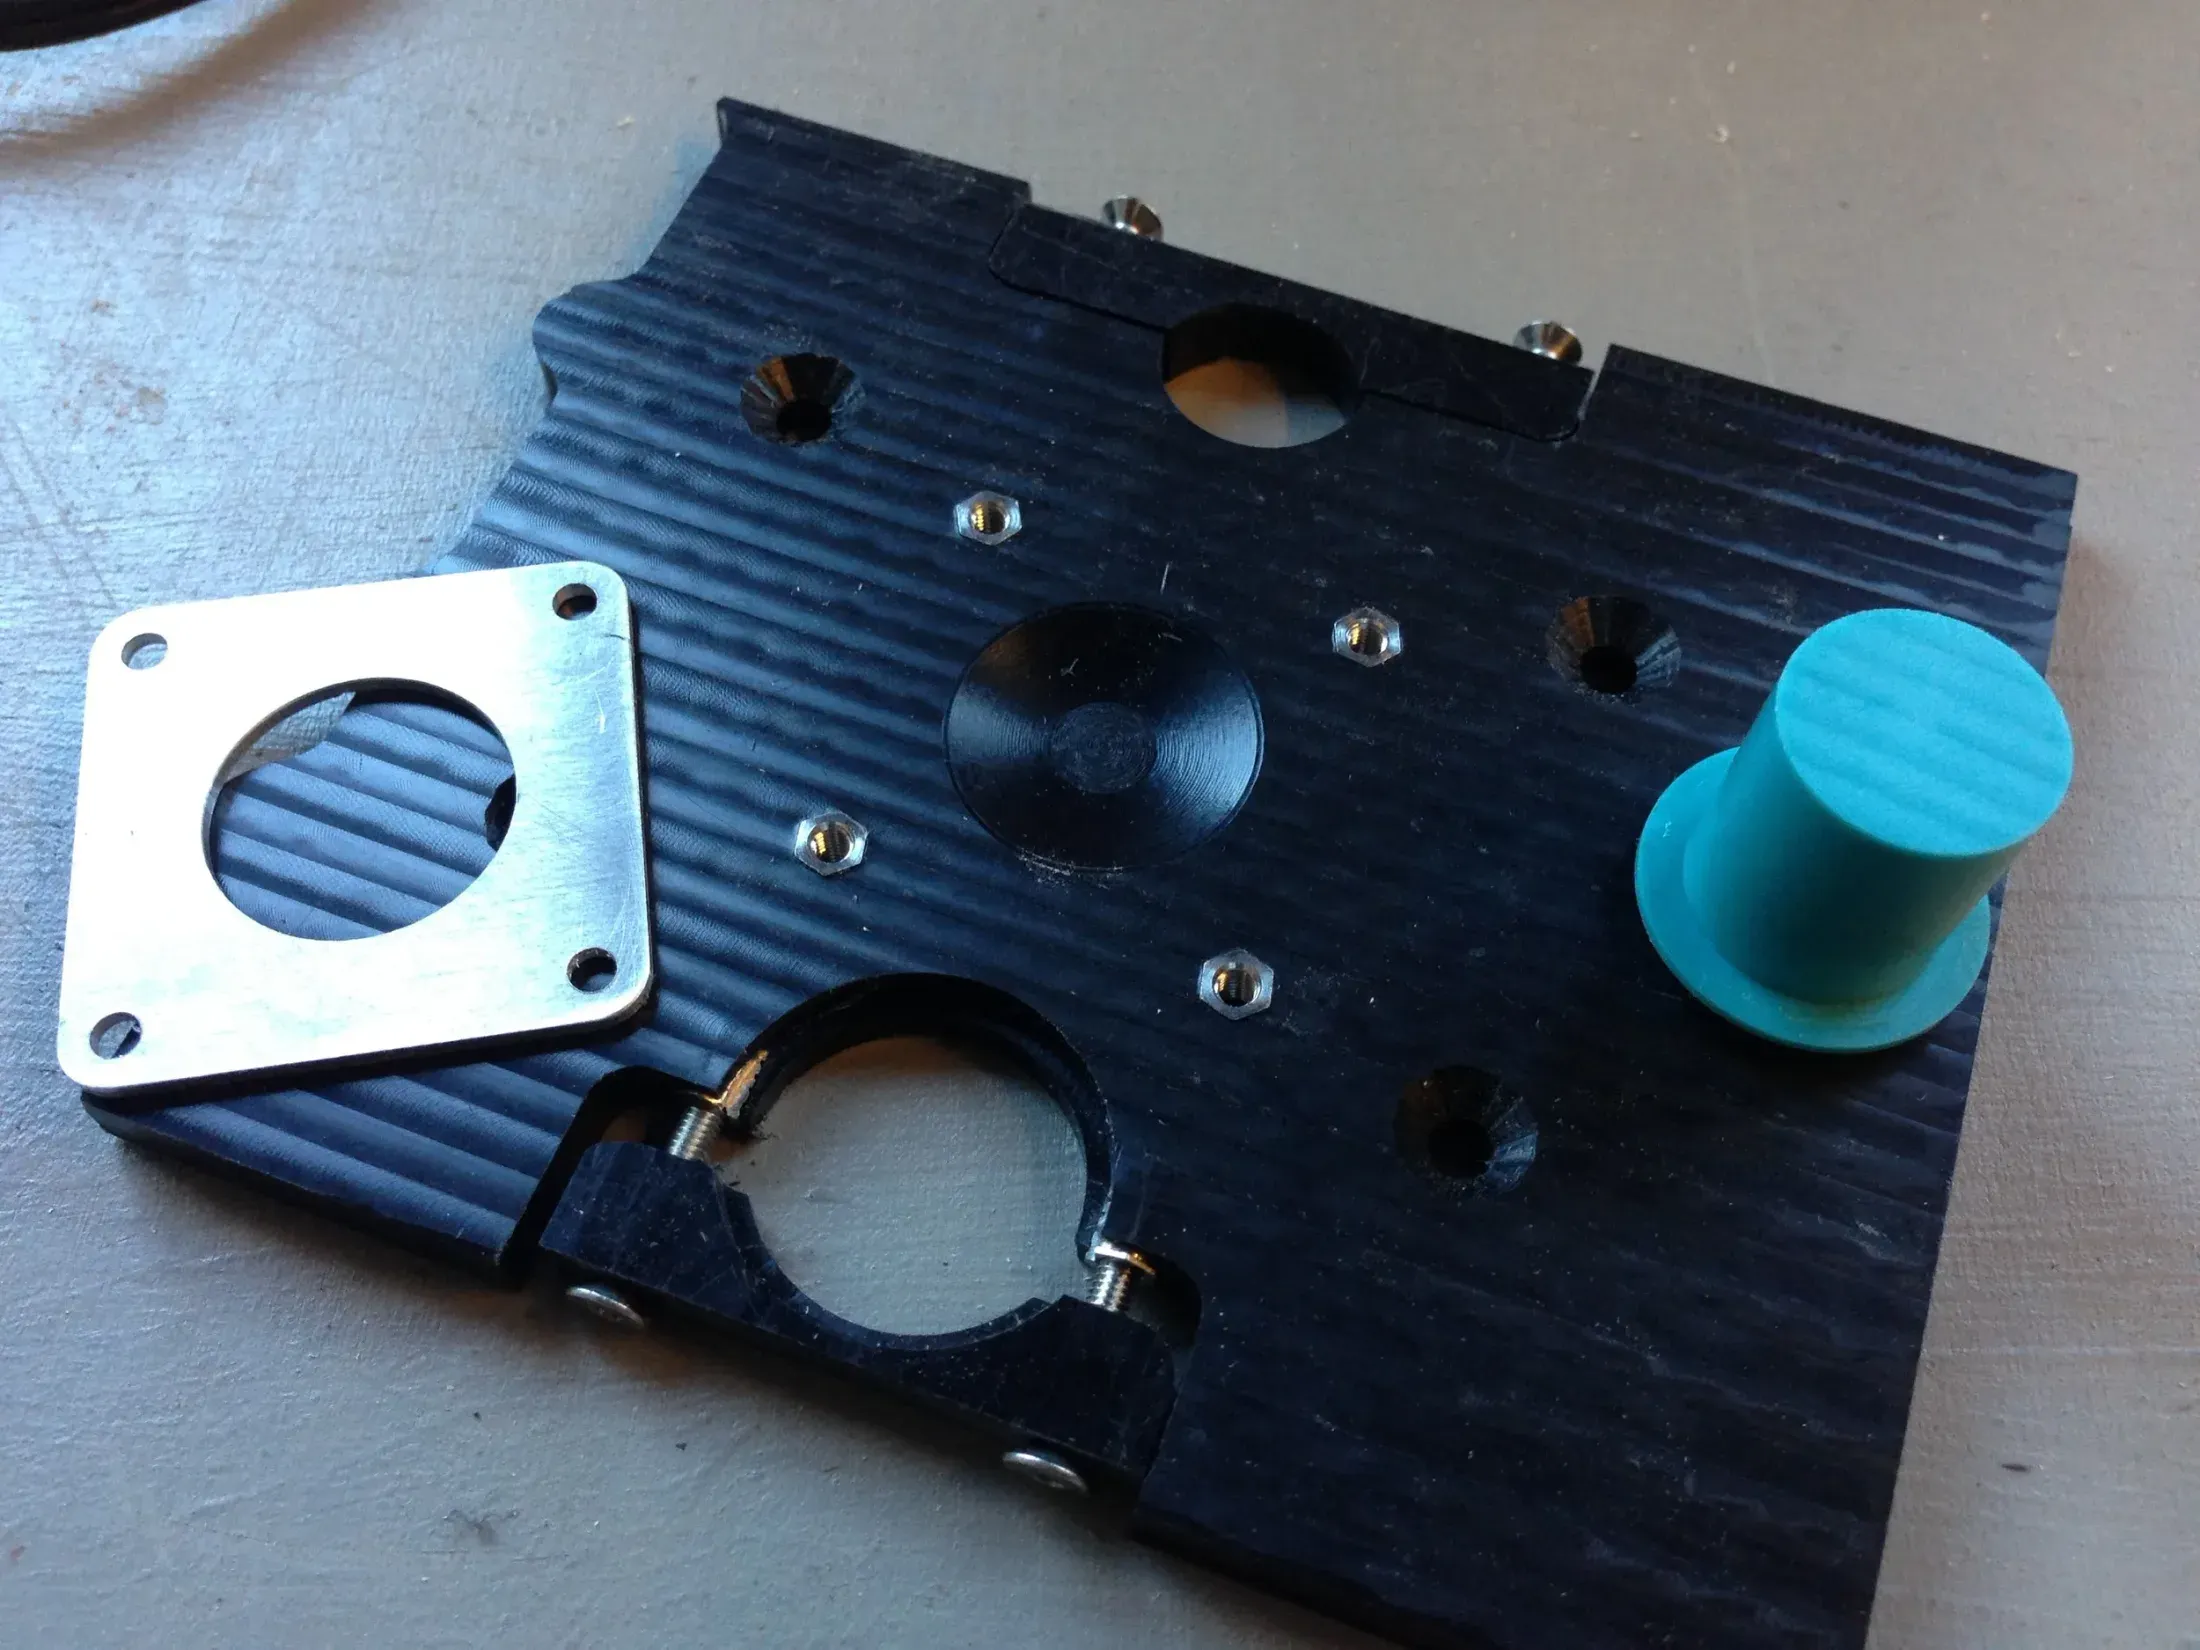 Note the four press-in threaded inserts used here again. In total, there are 8 in this fixturing plate.
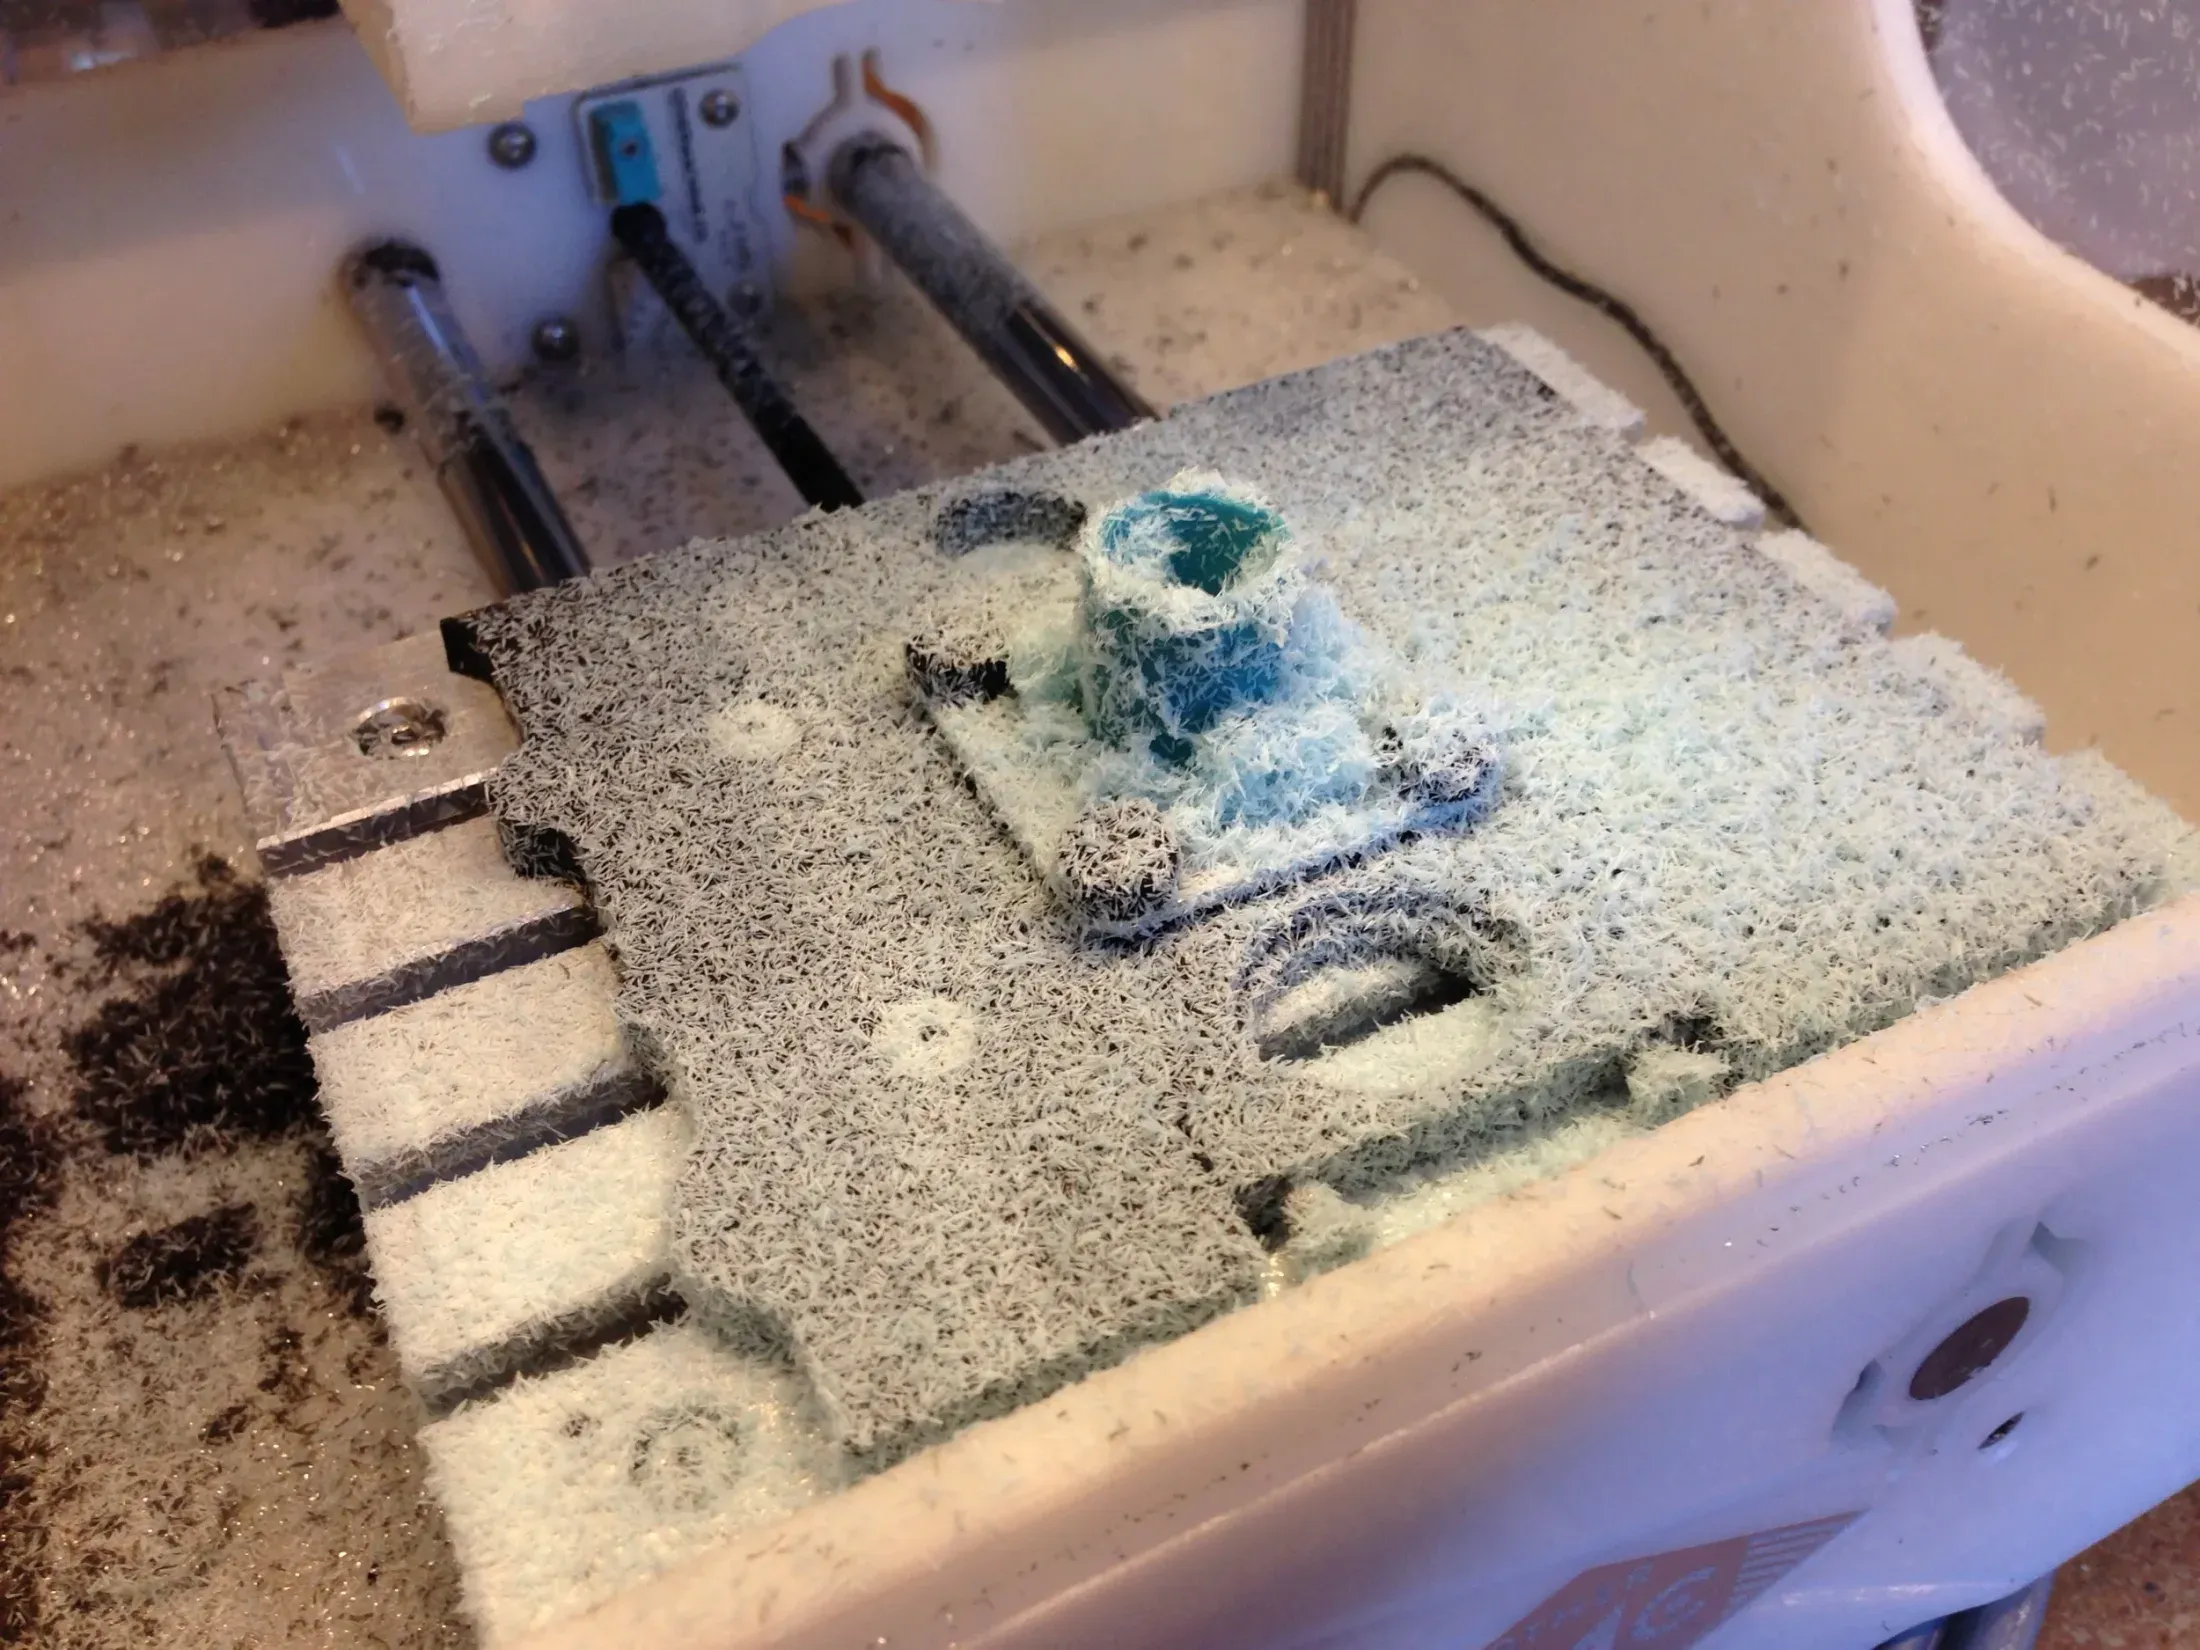
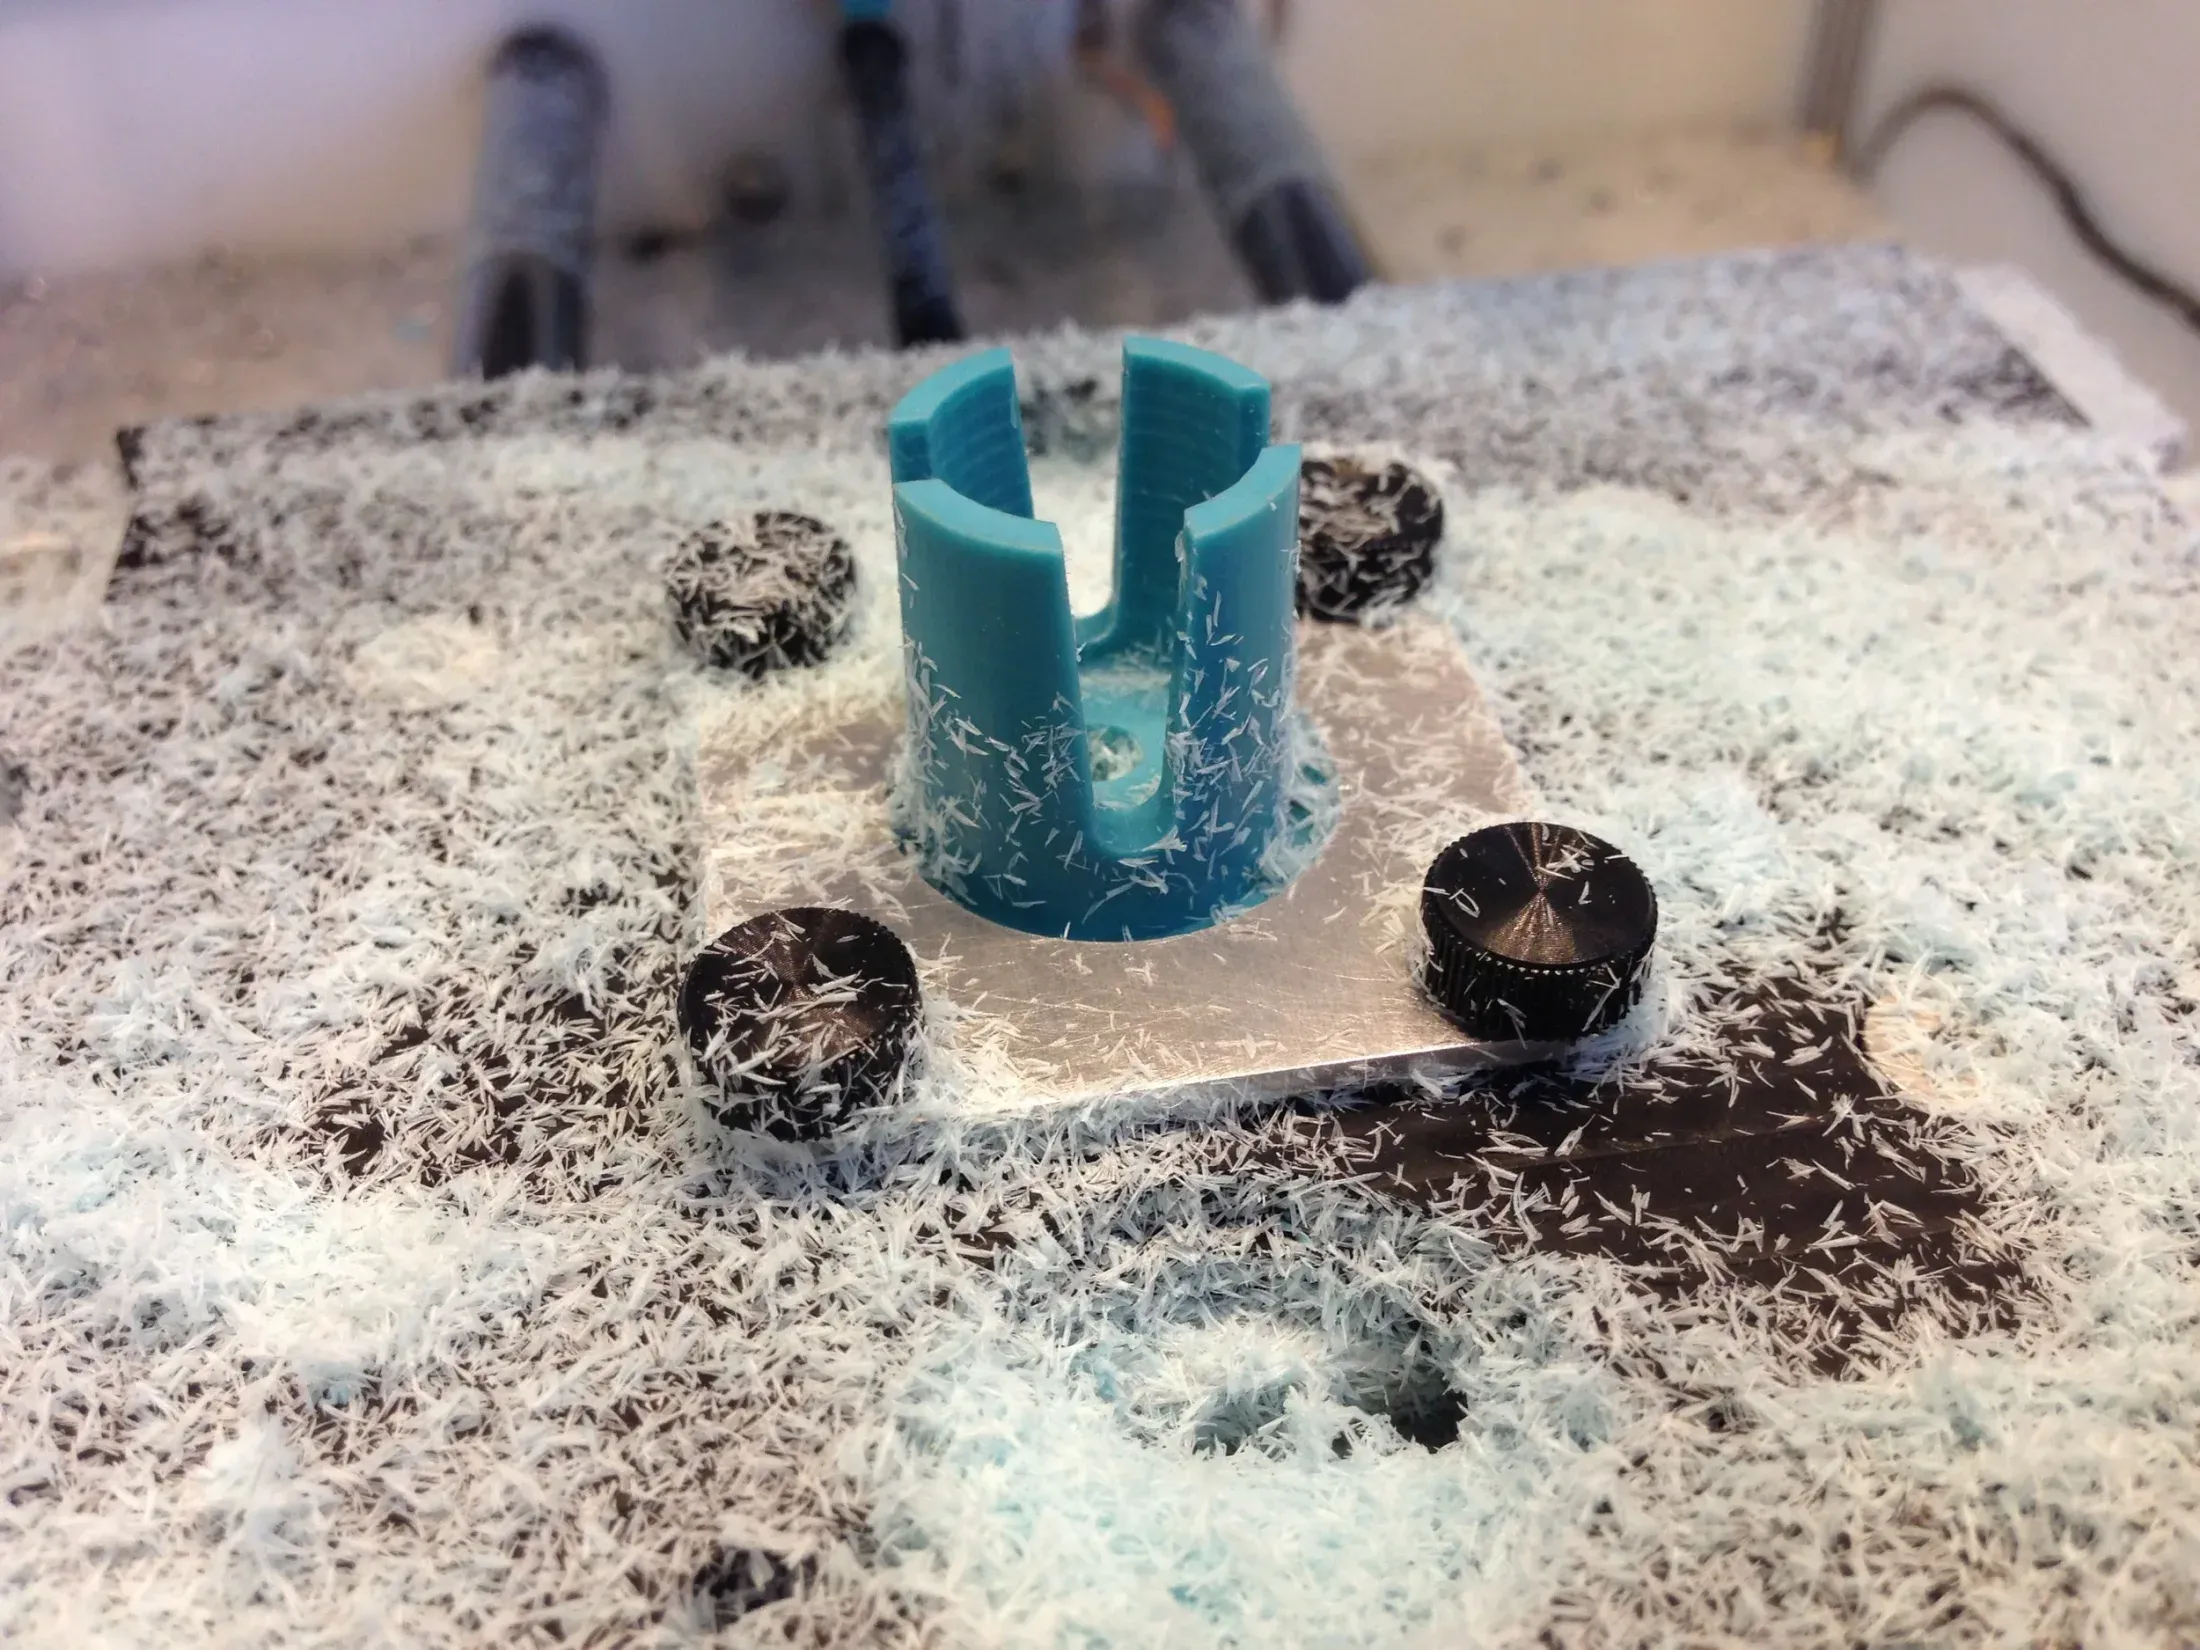
Once clamped in place and deemed reasonably level, the first cutting toolpath for this Op bored out a lot of the remaining material on the inside of the plug. Doing this and bringing down the wall thickness will allow the fingers to bend out and grip the inside of the handlebars, once a nut is forced into the bore.
No chip-clearing here, unfortunately. And those Delrin chips really stick to everything.
The next photo illustrates how this fixture could be improved - lining things up. Since I already had a counterbore on the bottom side of the piece, I really should’ve left a little plug there to better align the workpiece. I could’ve also drilled a hole and later pressed a pin into it. Anyway, something I learned.
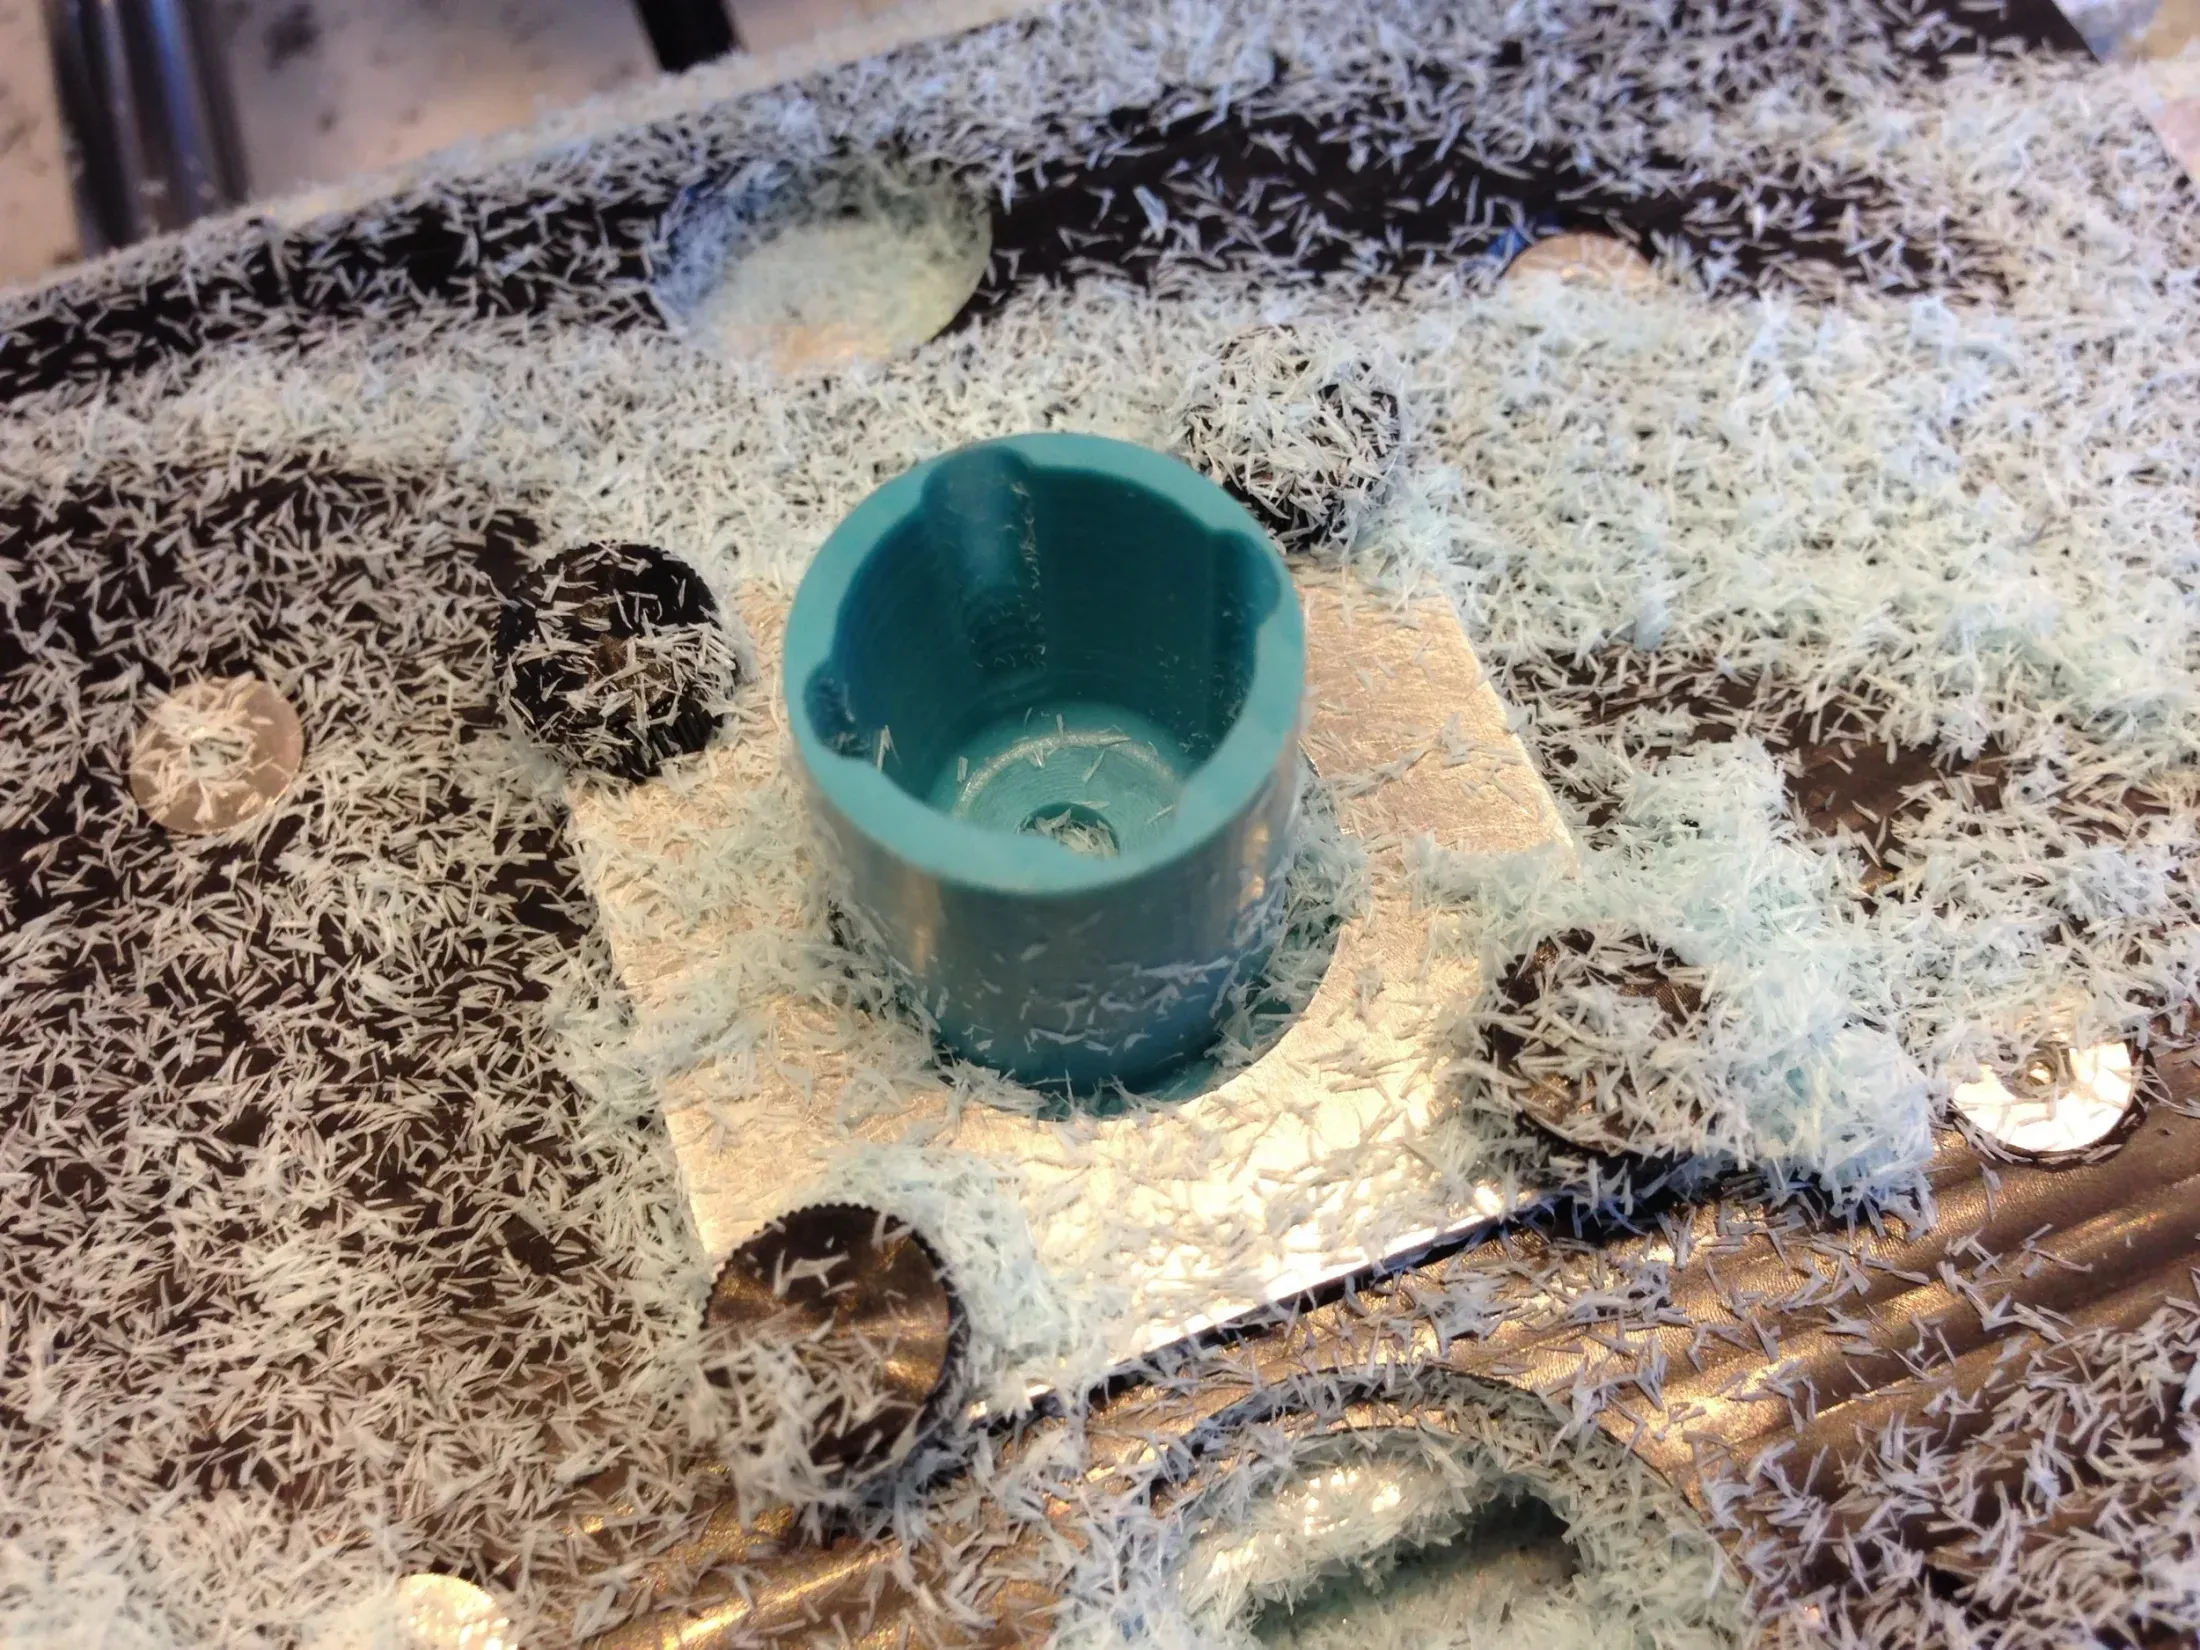 First toolpath done with a bit of misalignment, now onto the fingers.
 The fingers cut without much trouble. This part is done!
The Nut
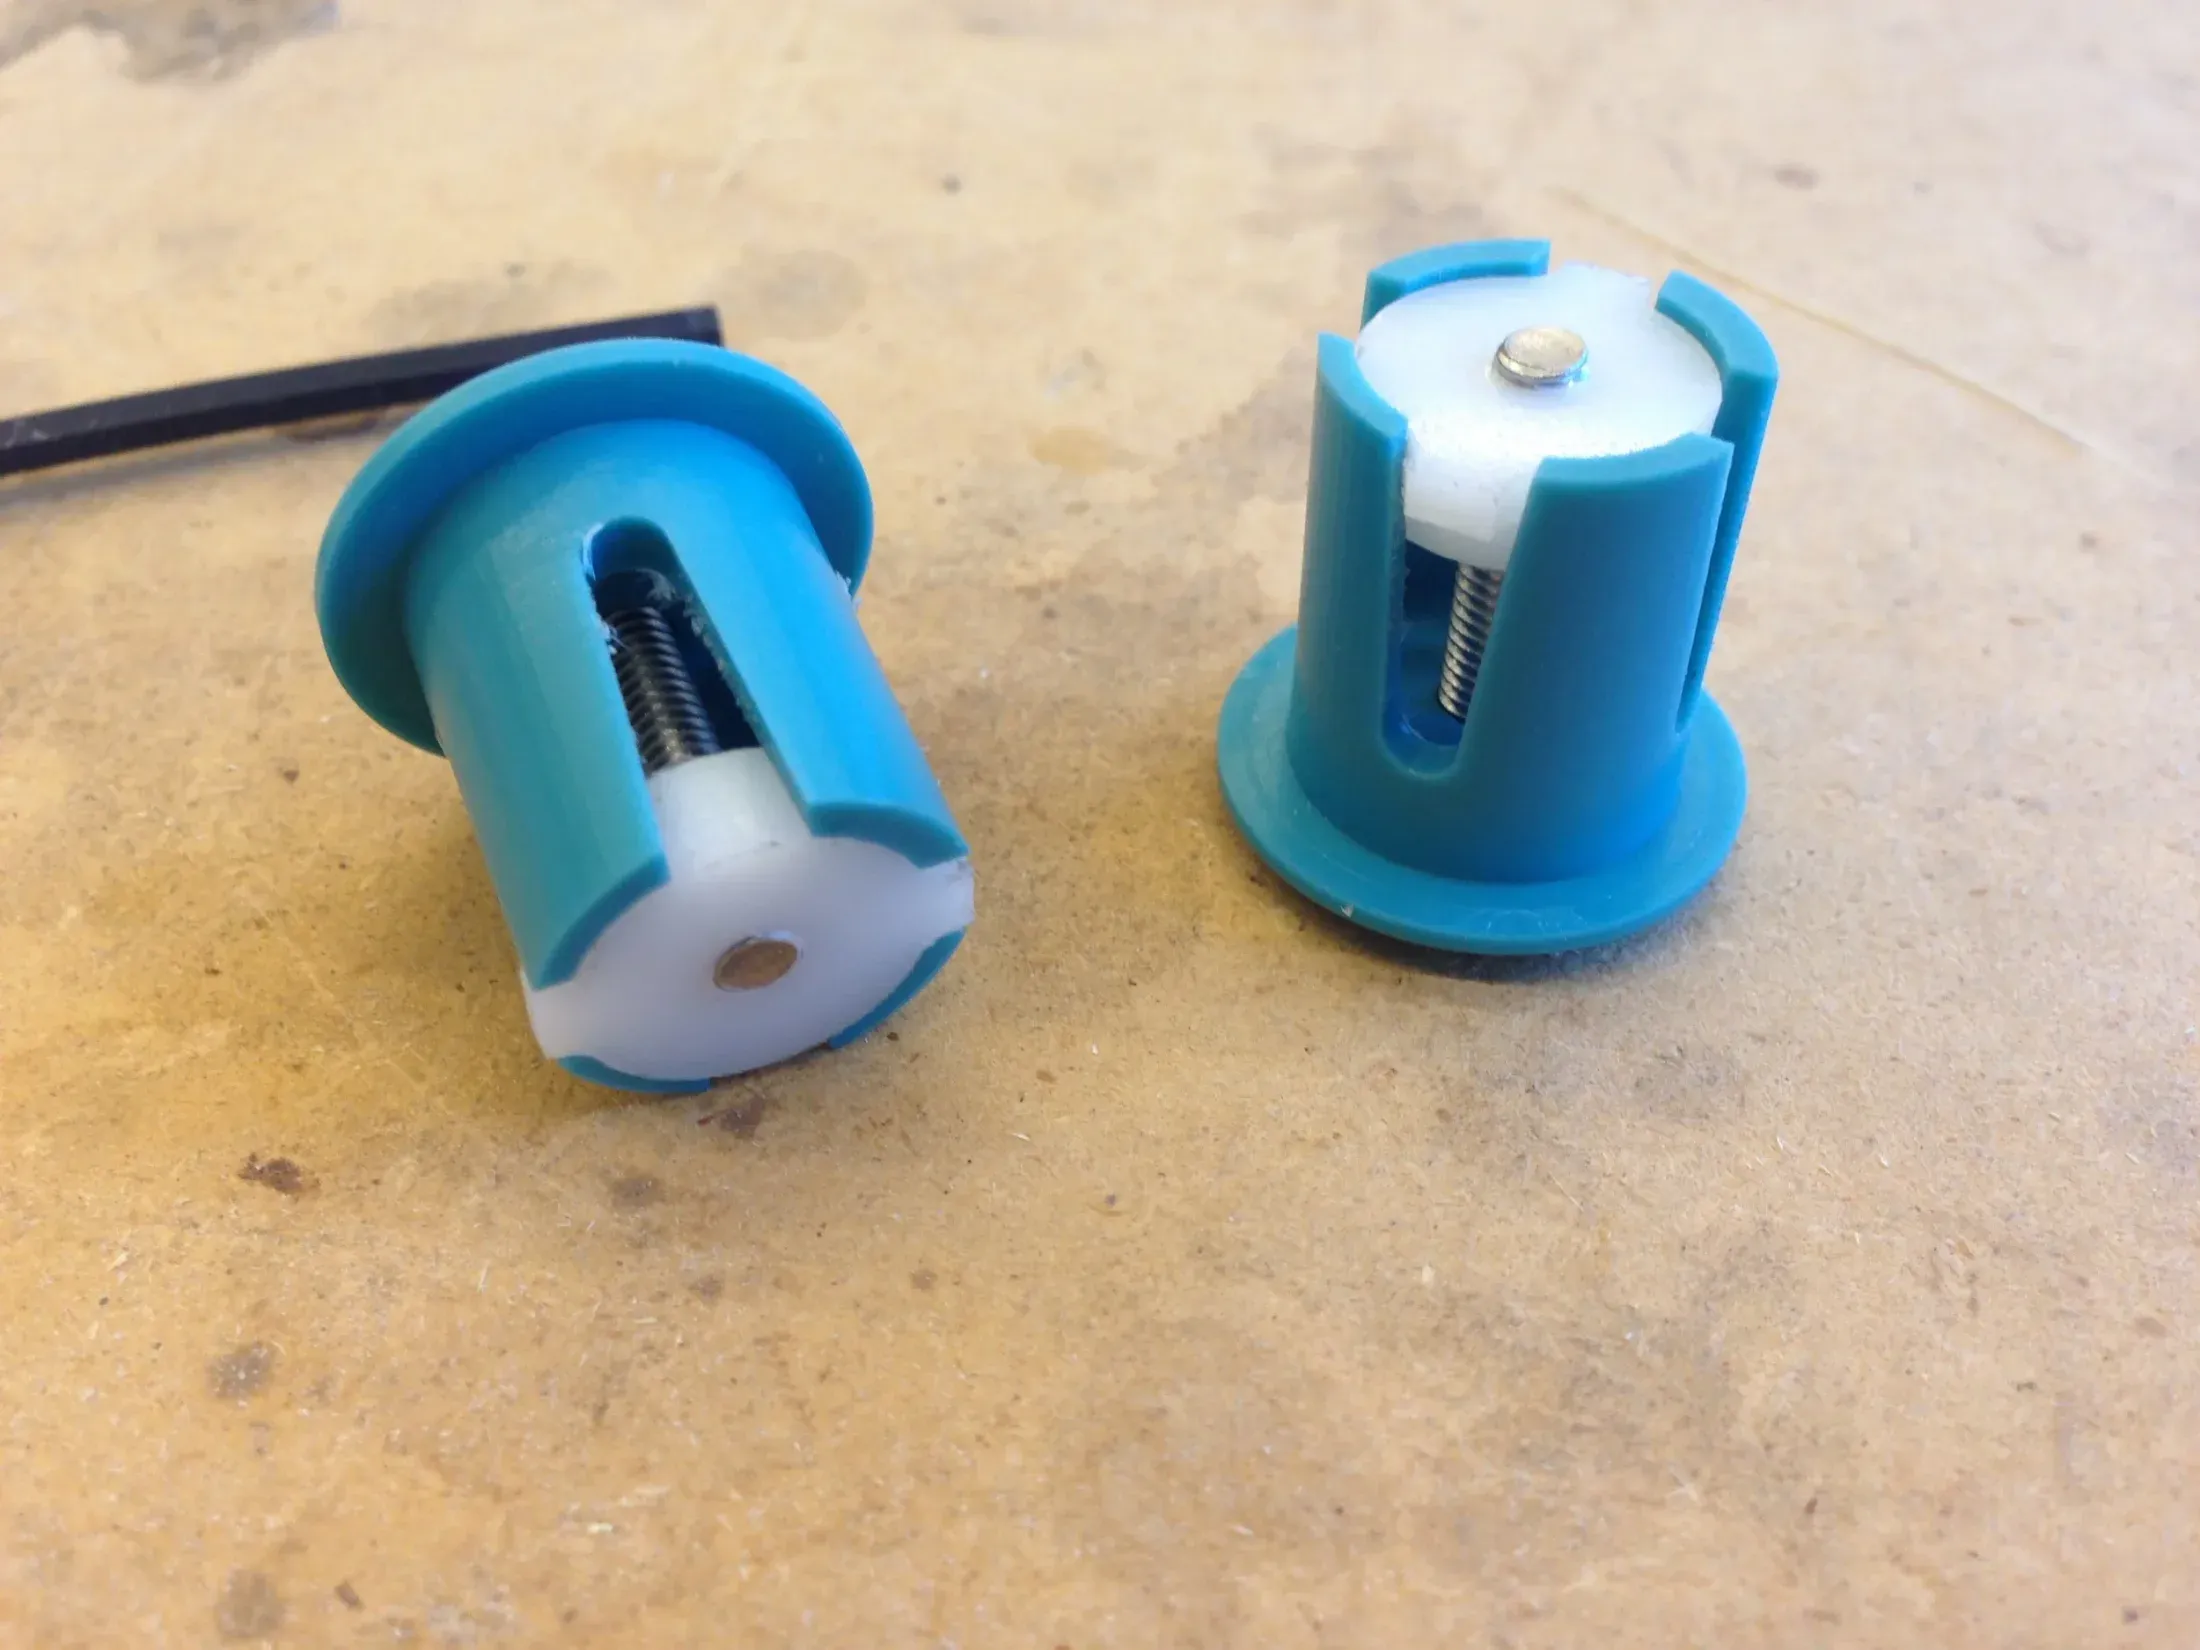
The nut is a small, tapped (M4), tapered HDPE piece with two protrusions that grab the fingers of the plug, preventing it from rotating. It’s cut to fit the plug snugly, and is forced down into the plug as the user tightens the M4 bolt, expanding the fingers to grip the inside walls of the handlebar.
The next two photos illustrate how this works:
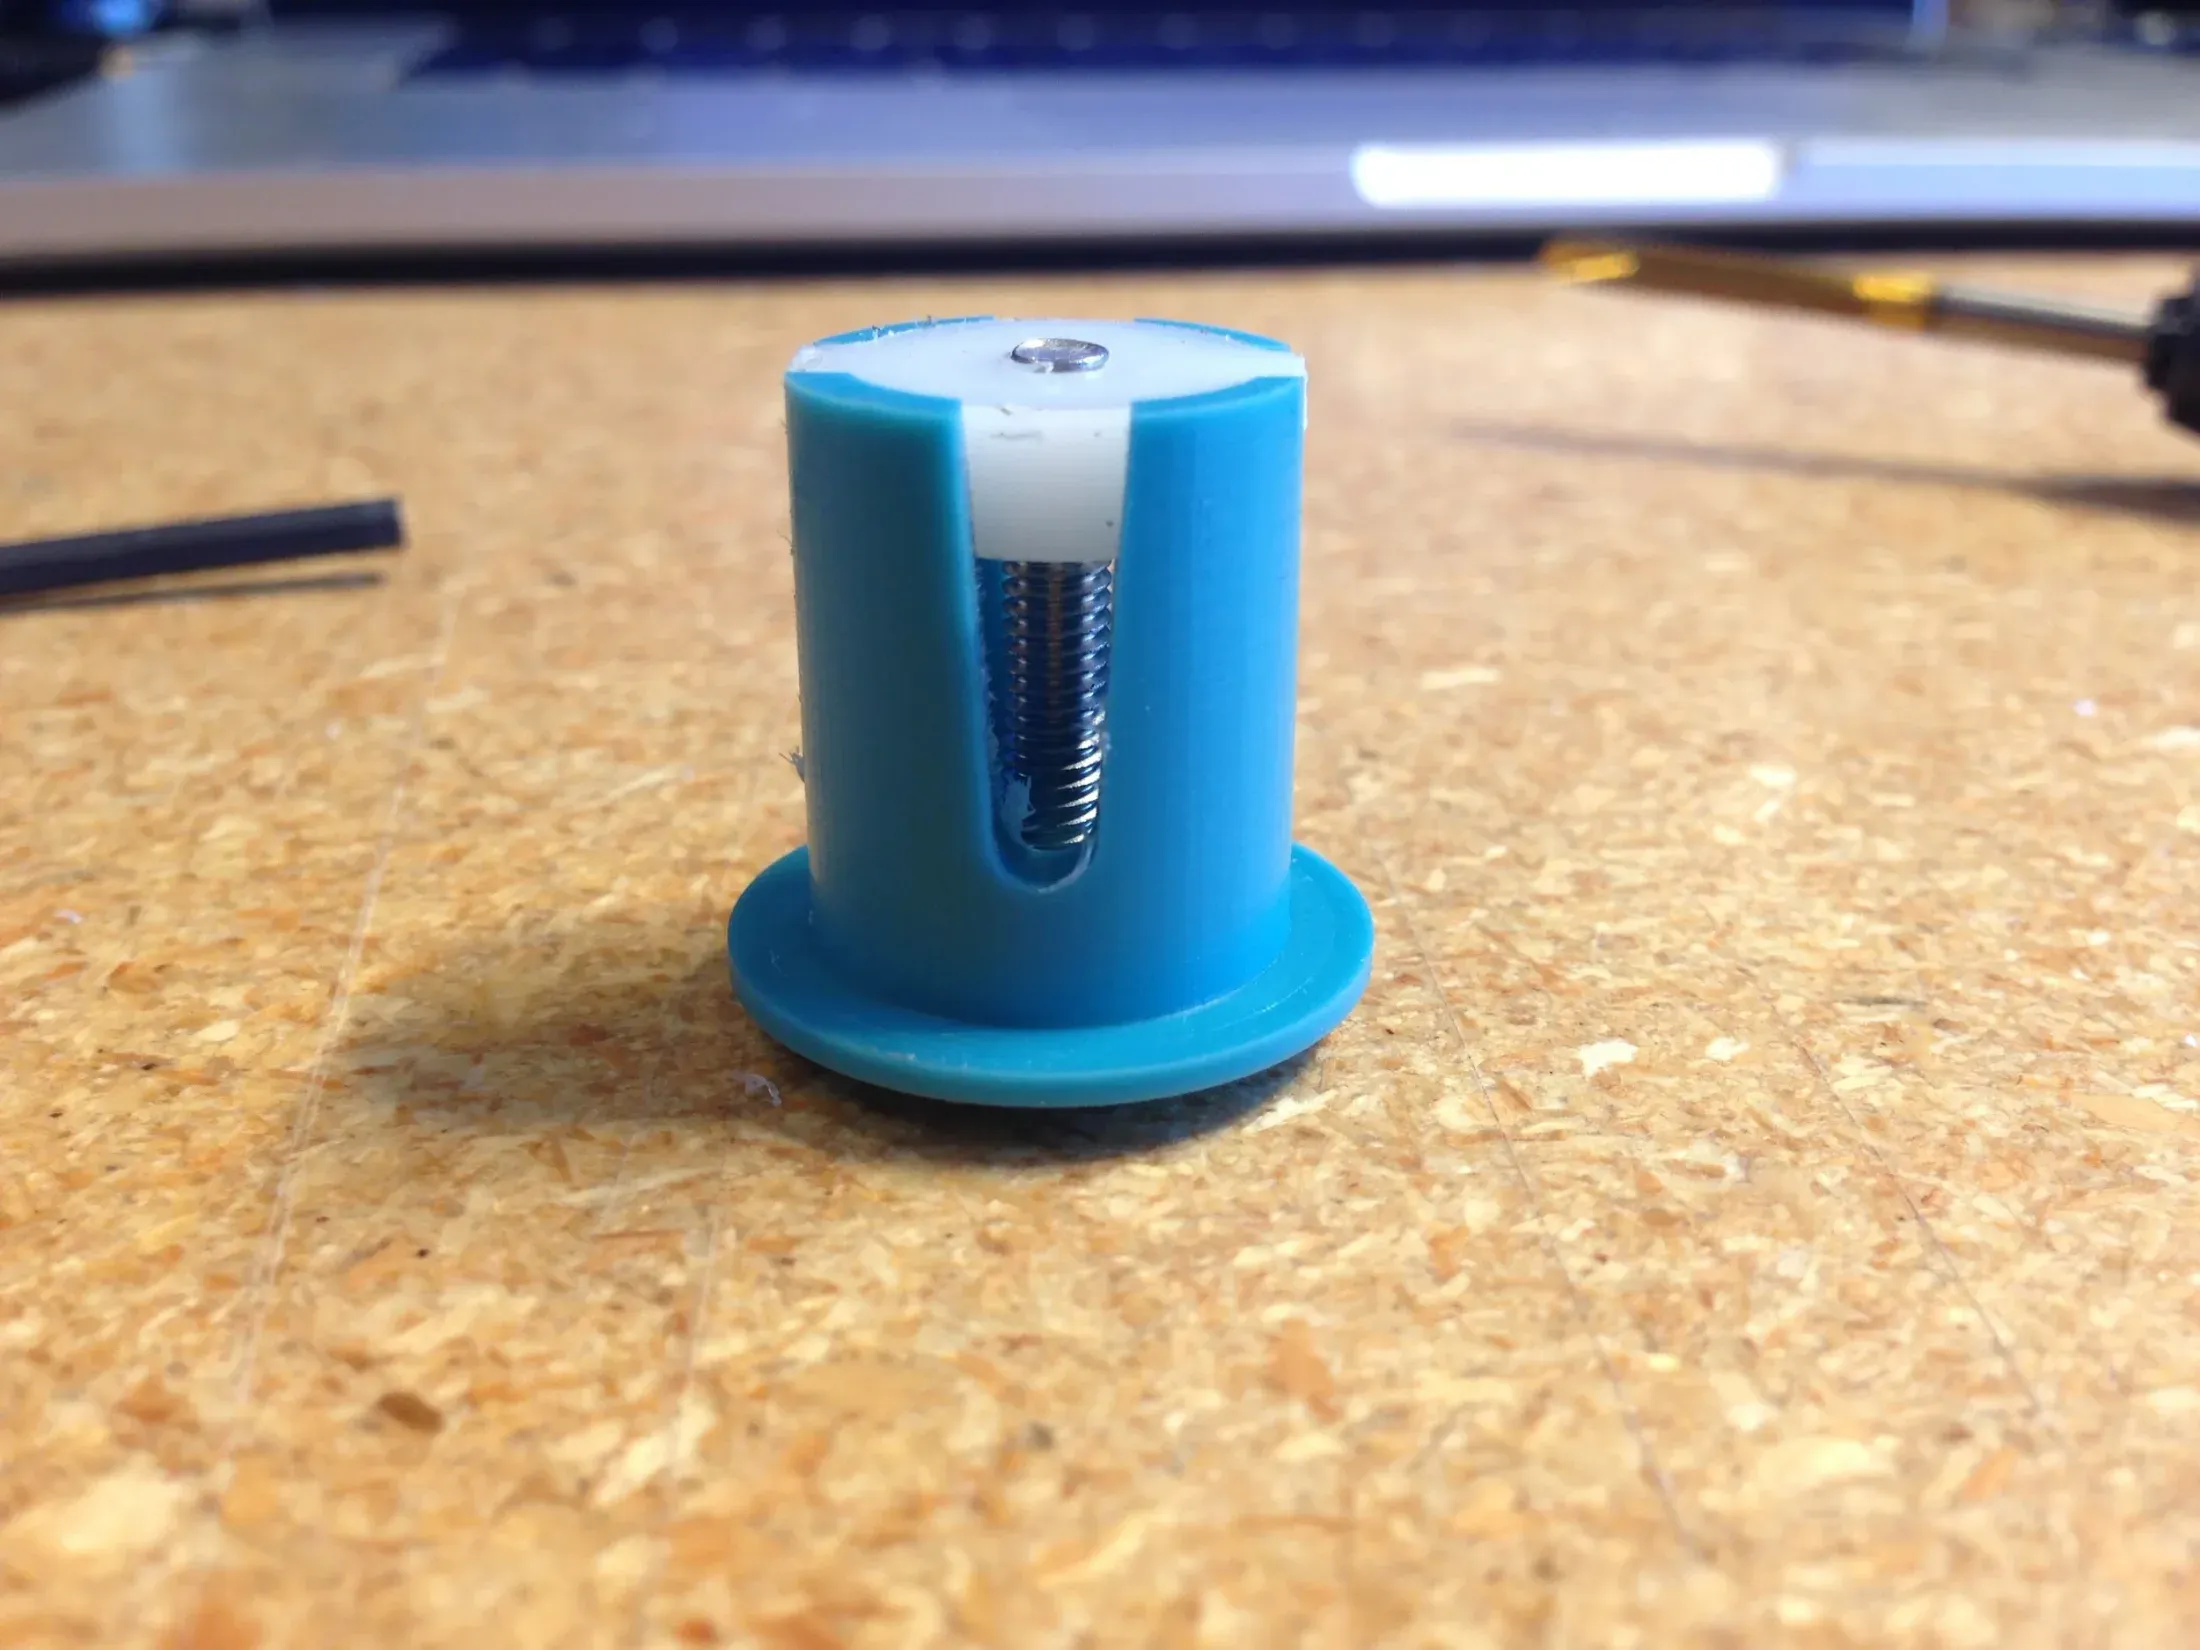 Loose.
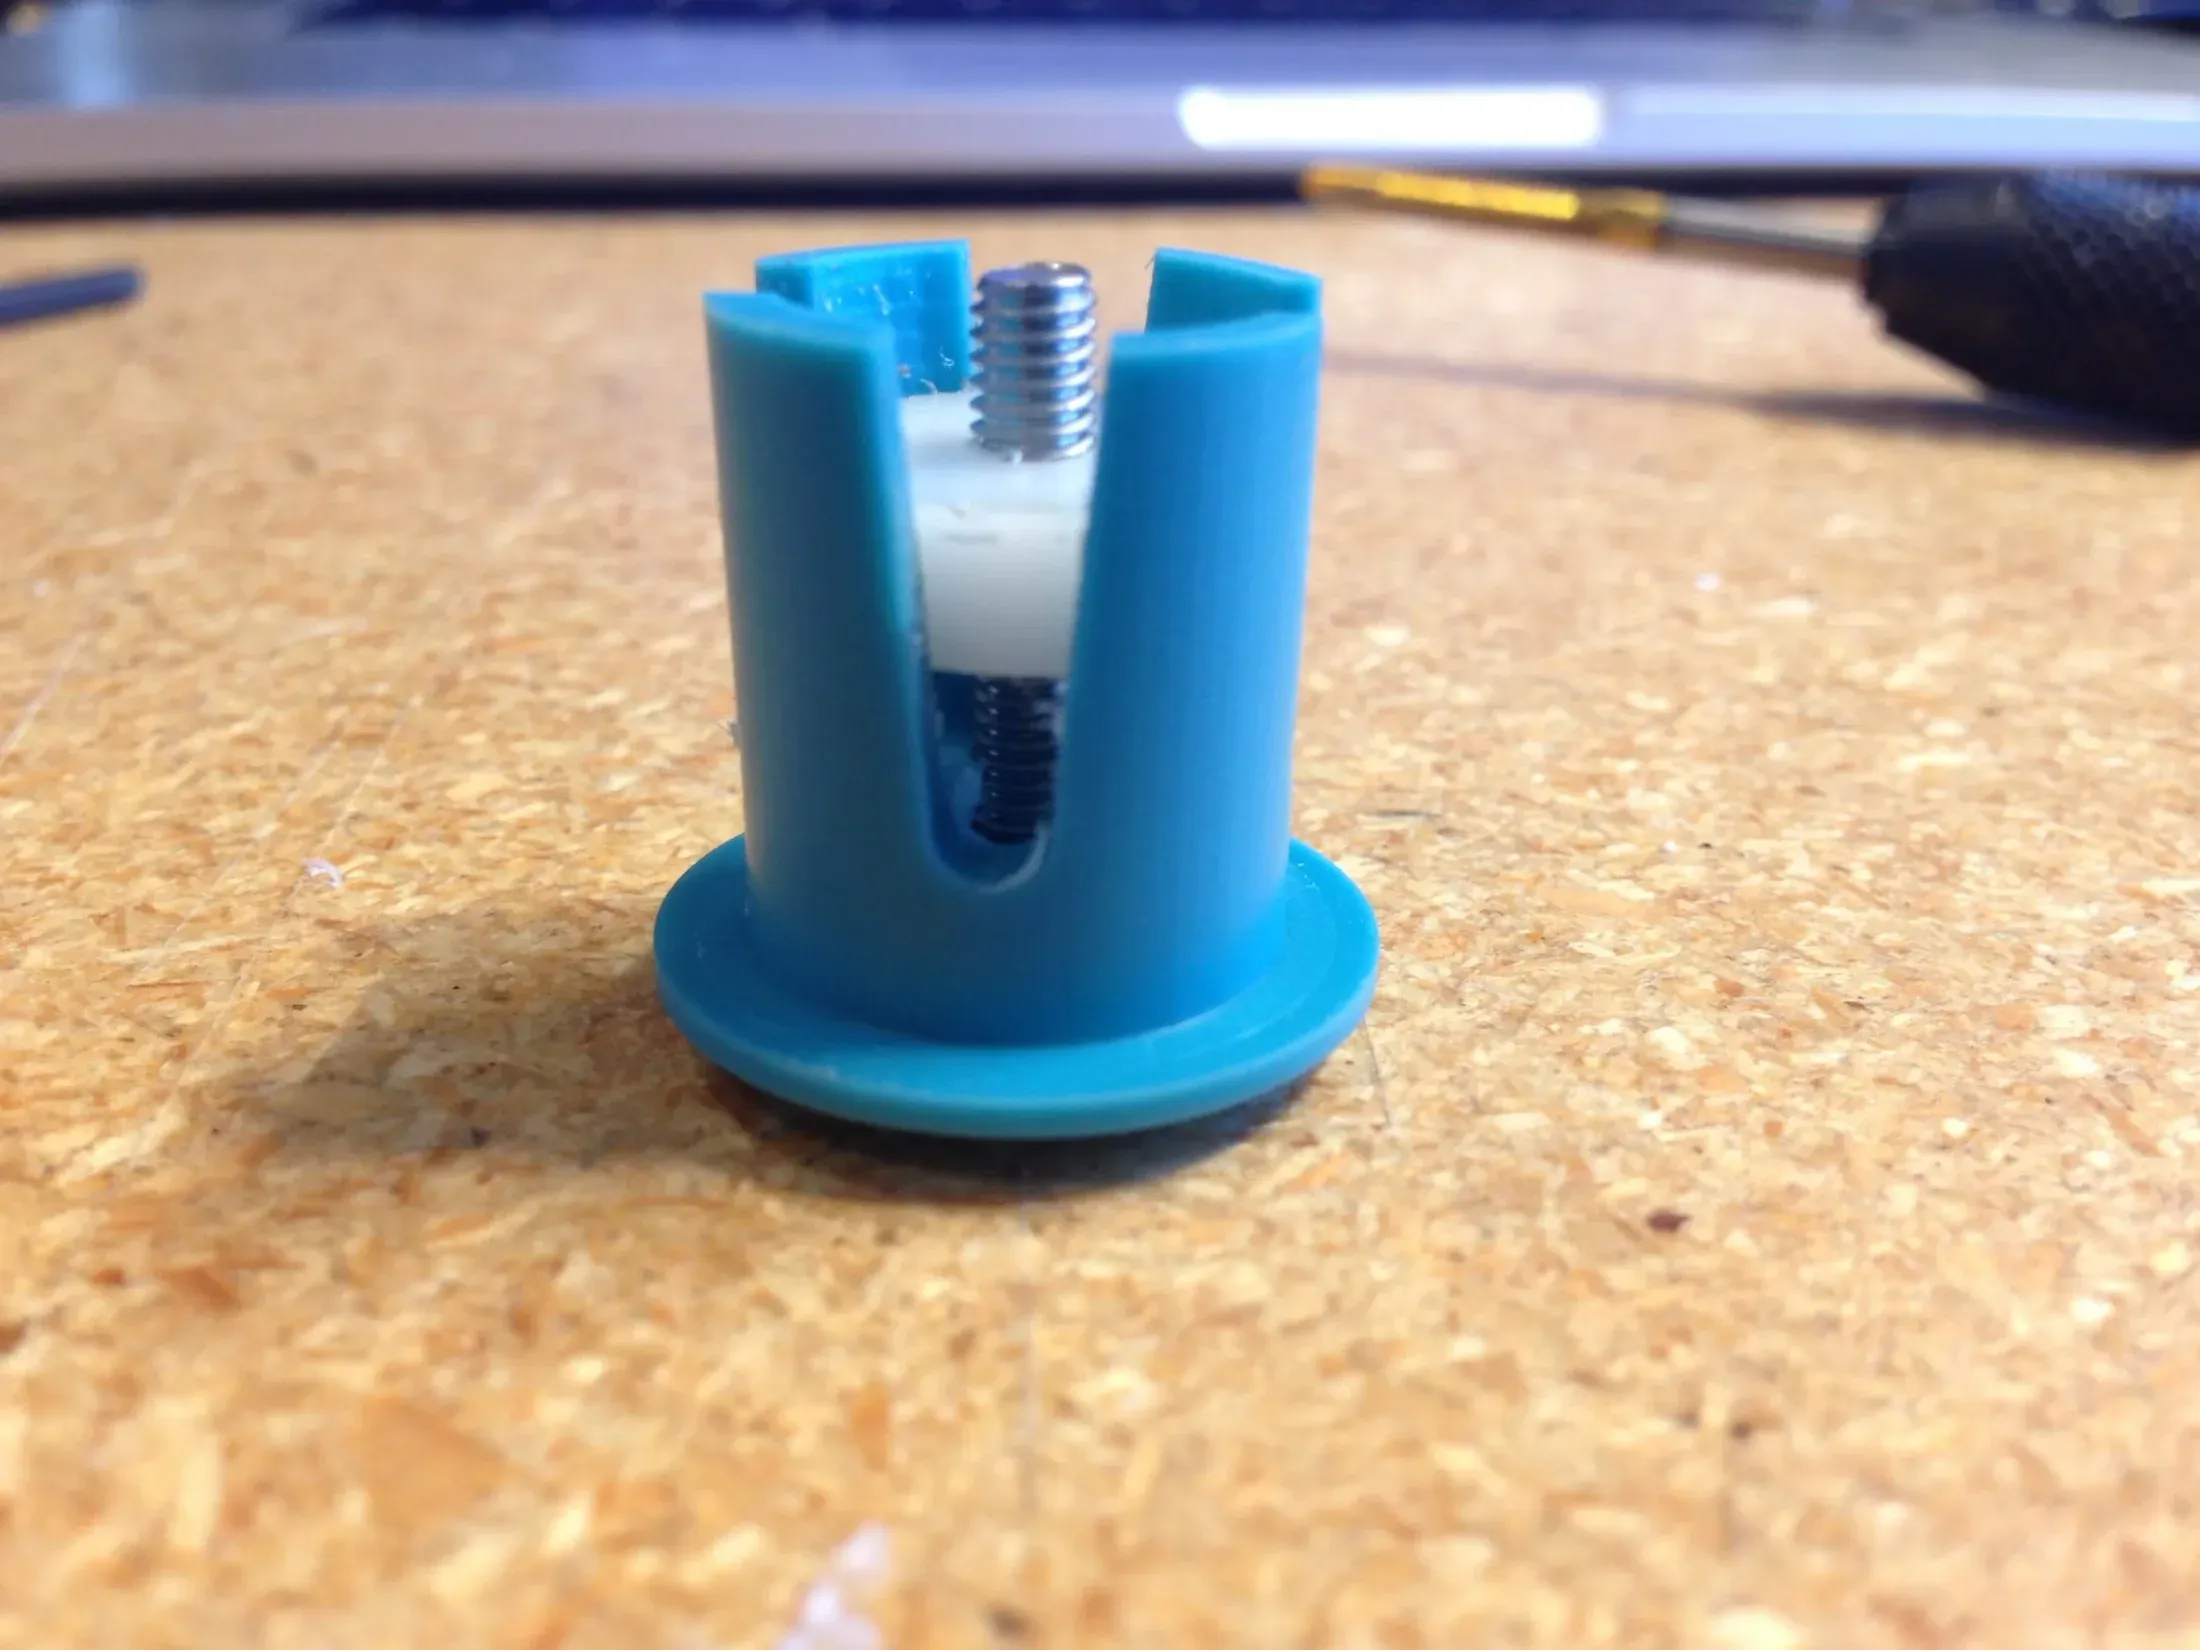 Tight.
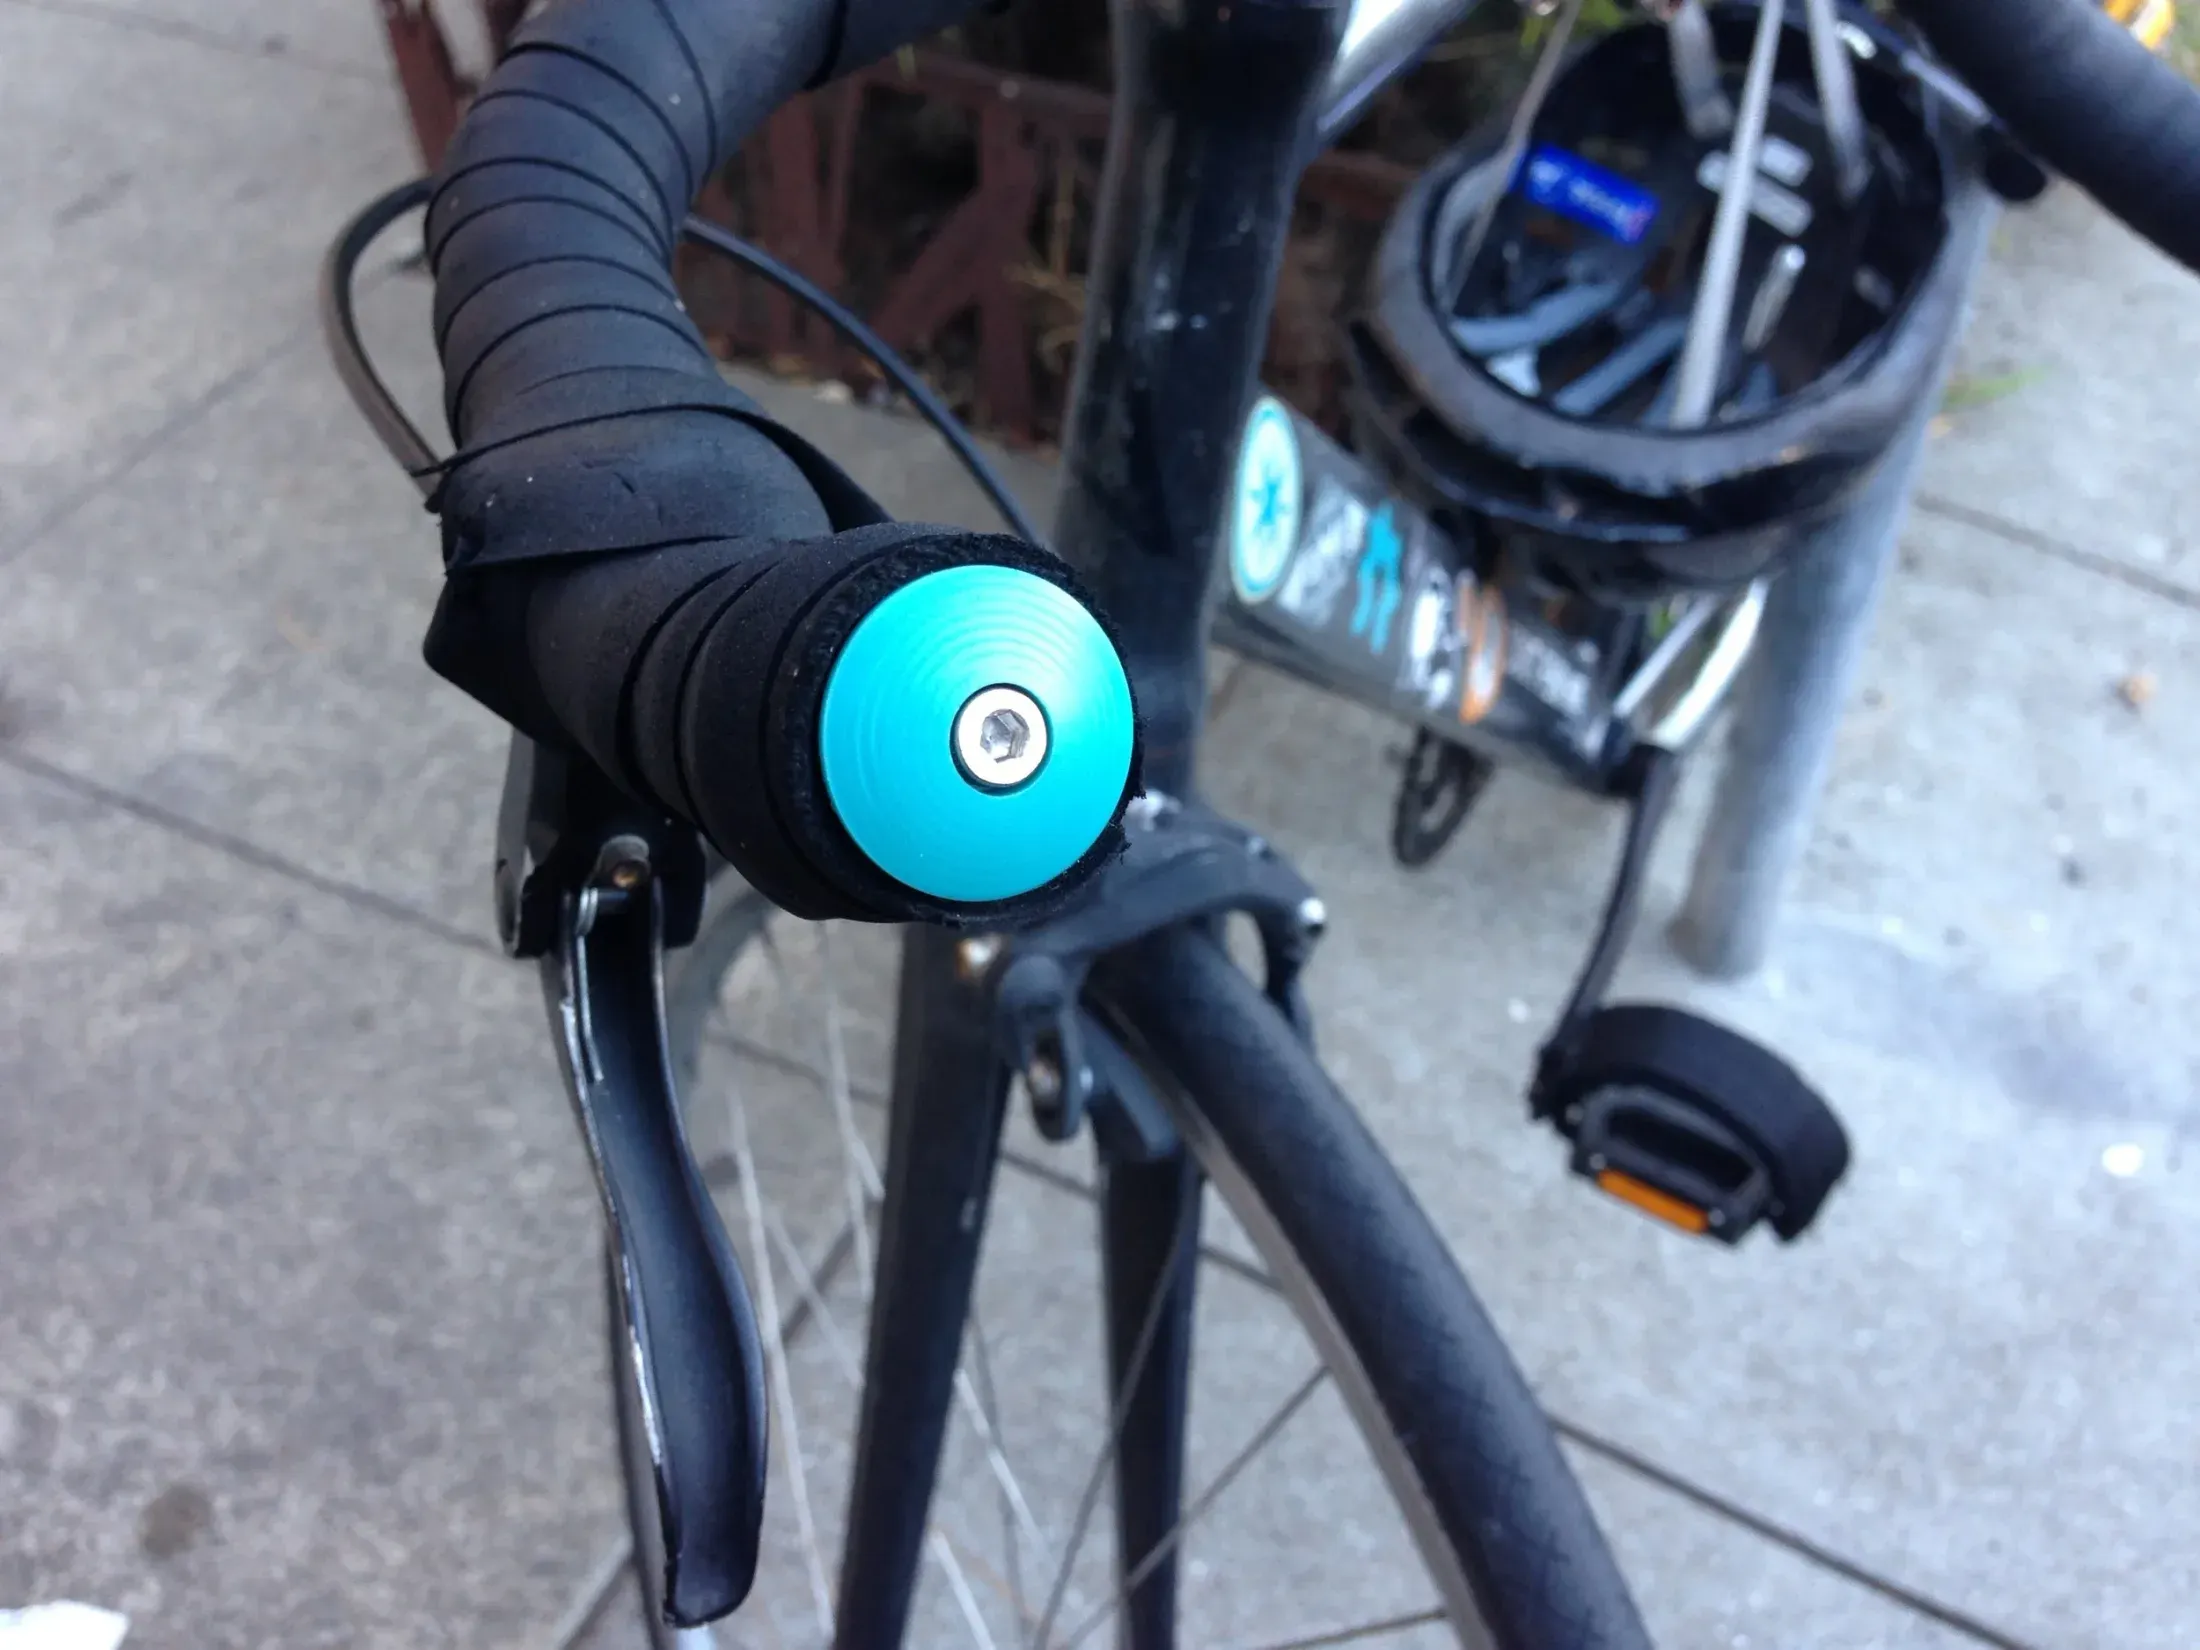
Once the nuts were complete, my new handlebar plugs could be installed: